

What is so easy about these signs is that they are designed to be the size of standard paper....so no cutting!
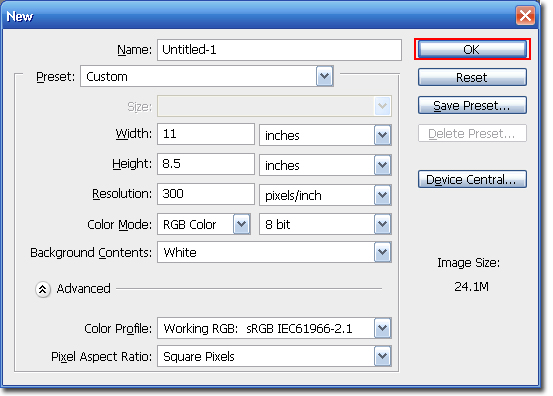
Step 1 Open Photoshop and create a new Canvas: Ctrl + N or File > New. The canvas should be the following setting:
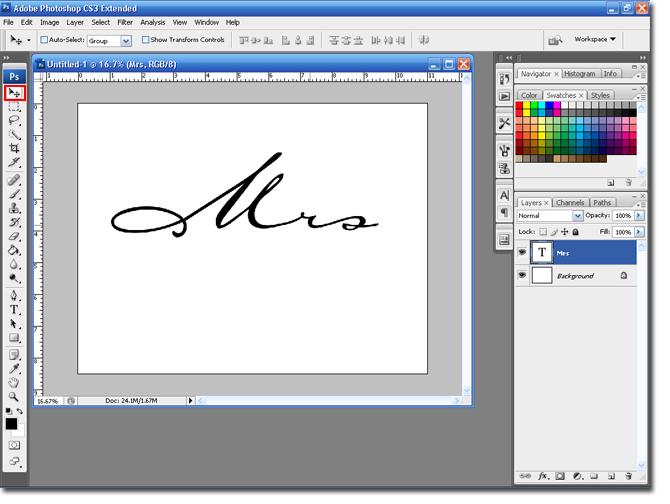
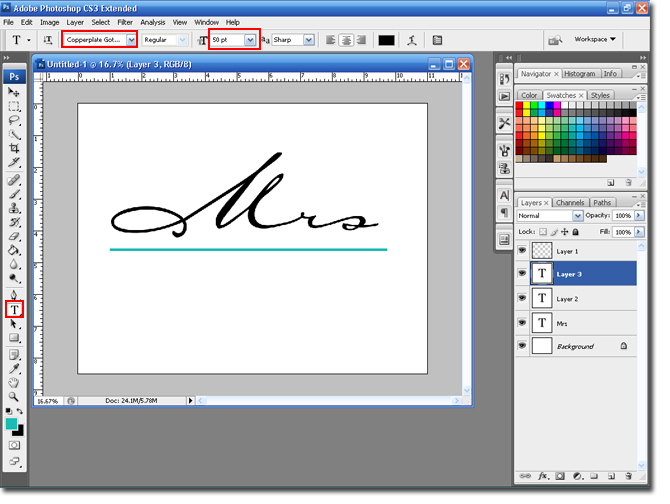
Step 2 Select the Type Tool and a Script font. For this tutorial I am going to use the Carpenter Script, which you may remember from a previous blog entry. Set the font size to 250pt.

Step 3 Type in Mrs. You may need to use the Move Tool to center the type on the canvas.
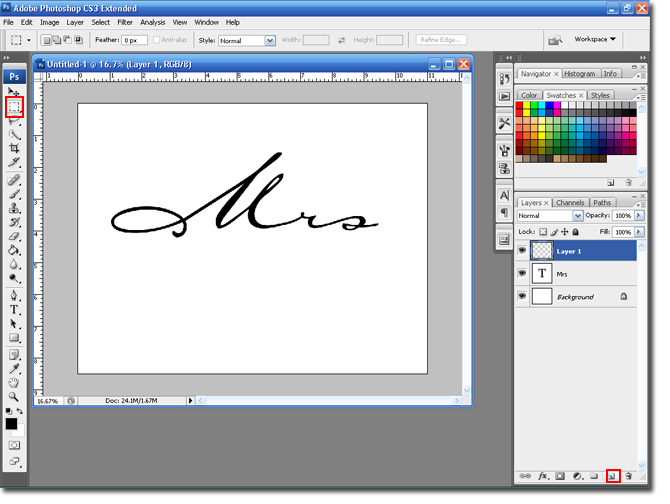
Step 4 Create a new layer and Select the Rectangle Marquee Tool.
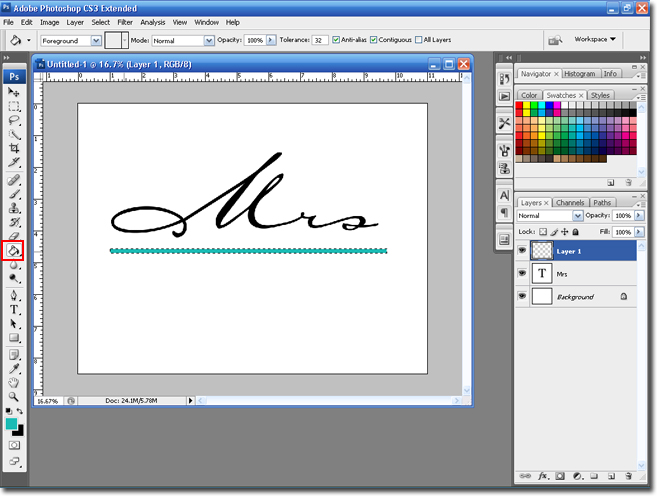
Step 5 Hold down the Left mouse button and drag it to the side, creating a line.

Step 6 Select the Paintbucket tool and fill the line with the color of your choice.
If the line is too thick you can use the Down-Arrow, on your keyboard. This will move the selection (marching ants) down. Hit the Delete button.

Step 7 Select the Type tool and change the font to a block, or serif font. In this case I am going to use Copperplate Gothic Bold. Set the size to 50Pt.
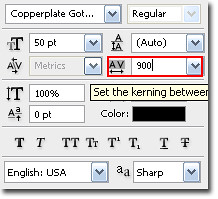
Step 8 Type in 'The Bride' and highlight the text. Select the Character and Paragraph pallet.

Step 9 Change the width to . Depending on the font you use you may need to play around with this setting.
Step 10 Select the layer with the line and duplicate the layer: Ctrl + J.
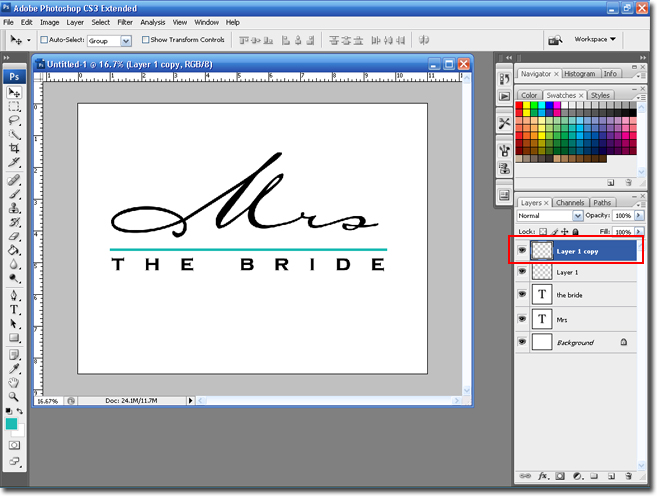
Step 11 Select the move tool. Move the duplicated line layer to the bottom of 'The Bride' text.

You are finished. Just change the text to 'Mr' and 'The Groom'.
Try adding a border or a Cardstock backing to the sign. to add some depth.

Use ribbon to attach it to the chair, or get creative!
Thanks,
BriannaNichole!
3 comments:
Dear BriannaNicole,
Your designs are really beautiful! I am trying to create one for my wedding! Would you mind posting a tutorial on how to make the "letter wrap around letter" monogram like the 1st and 2nd one you did for Nikki & Jeff?
Thanks a lot in advance!
Laura =)
Hi Angelica,
This was actually my first tutorial. Here is the link: http://weddingmonograms.blogspot.com/2008/01/twined-initial-monograam-tutorial.html
What a great tutorial! I just discovered your blog and I've already learned so much from you! You got an honorable mention at Card of the Week.com for Tutorial Tuesday. Check it out... http://www.cardoftheweek.com/2008/04/tutorial-tues-1.html
Thanks for sharing your great work -- you make it look so easy!
Susanna
Post a Comment