Hi all! The entry period for the monogram contest is now over. Please keep checking back for your monogram entries, the free monograms and for the contest winner.
Plus, there will soon be lots of new tutorials.
BriannaNichole!

Thursday, April 24, 2008
Wednesday, April 23, 2008
Paid Monograms
Good Morning Brides. You may notice that I removed the information on how to purchase monograms. I have just been so busy with creating monograms for people that I have not had time to create any new tutorials. So, for the time being I will not be taking any orders to create paid monograms. I will be focusing on creating tutorials and the monogram contest.
Also, if you are looking for Photoshop Tutorials on how to edit pictures, check out my personal blog FabBriannaNichole.blogspot.com.
Happy Planning,
BriannaNichole!
Also, if you are looking for Photoshop Tutorials on how to edit pictures, check out my personal blog FabBriannaNichole.blogspot.com.
Happy Planning,
BriannaNichole!
Tuesday, April 22, 2008
Free Monogram Contest Reminder!
I wanted to thank everyone who has already participated in the free monogram contest. All the designs I have received look amazing, you all are doing a great job. I want to remind you that Thursday April 24, 2008 is the cut off for entries. Once I receive all the entries I will pick the winner based on creativity, overall look and difficulty of the design. The winner will receive a set of table number designs custom to your wedding. Everyone who enters will get a free monogram.
Thanks Guys,
BriannaNichole!
Thanks Guys,
BriannaNichole!
Thursday, April 17, 2008
Monogram Contest...Free Monogram
I would love to see all the monograms/Invitations/Table numbers/Mr. and Mrs. Signs/Reception Menus/Etc. That you created by using one of my tutorials. All entires will win a Free Monogram. My favorite design can win Free Custom Table Numbers/Names for their wedding.
All you have to do is email me your design and allow me to post it on my blog. I will email you back with all the information I need for your free monogram. The winner will be announced next week.
Email Monograms in a .jpg format to WeddingMonograms@gmail.com
Good Luck and Happy Monogram-ing!
BriannaNichole!
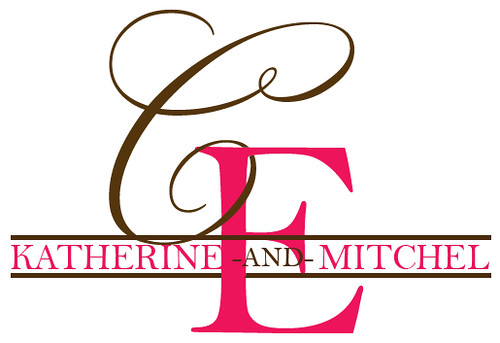
Keeping Your Last Name?
So, you are getting married but you want to keep your last name? It's not a problem, there are still lots of monogram options; You can have a monogram with just your first names/initals and forgoe the whole last name thing, or you could create a monograms that includes both of your last names. I say go for the second option. It still shows that you are blending your lifes together, but it lets you display your last name.
In this blog entry I am going to show you a couple of monogram choices for ladies that want to keep their last name...and display it proudly on their monogram.
Here are some that I have already created:


You can pretty much do this with any monogram. Go ahead, pick one of my monogram tutorials and try it.
Good luck and Happy Monogram-ing,
BriannaNichole.
In this blog entry I am going to show you a couple of monogram choices for ladies that want to keep their last name...and display it proudly on their monogram.
Here are some that I have already created:
You can pretty much do this with any monogram. Go ahead, pick one of my monogram tutorials and try it.
Good luck and Happy Monogram-ing,
BriannaNichole.
Tuesday, April 15, 2008
Reception Menu Tutorial
If you are like me, you enjoy the little touches that paper products can add to a wedding. I love when people include table numbers, escort cards, seating charts, Mr and Mrs signs and such.
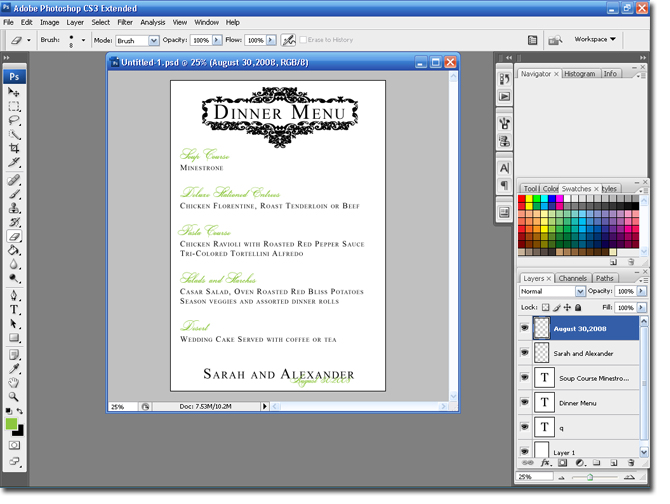
For this blog entry I wanted to show you how simple it can be to create a dinner menu for your reception. They look so pretty on the table and they, just like flowers, add a nice touch of color to your reception.
Your menu cards can range from the very very simple, to the super ornate and fancy. Here I am going to show you one that falls somewhere in the middle. I will, also, be giving you the link so you can download the template and edit it with your info.
I am sooooo in love with black and lime green right now (like you couldn't tell from new blog look), so those are the colors I am going to be using. You will be able to change the colors to match your needs.
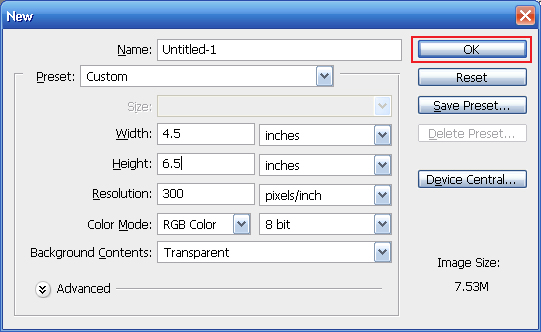
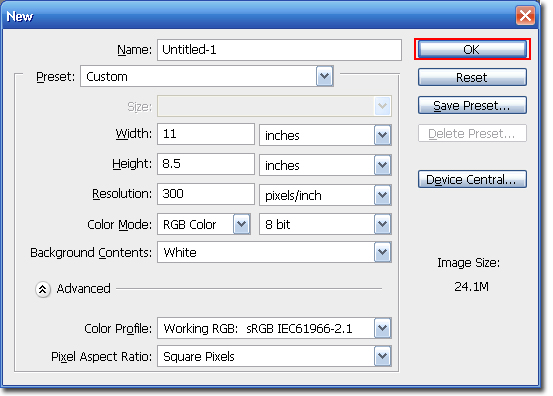
Step 1 Open Photoshop and create a new canvas: Ctrl + N. I am going to make mine 4.5x6.5, because I am going to add a border. If you don't want a border, or you want your menu a different size, enter your values here. Make sure the resolution is set to 300dpi.
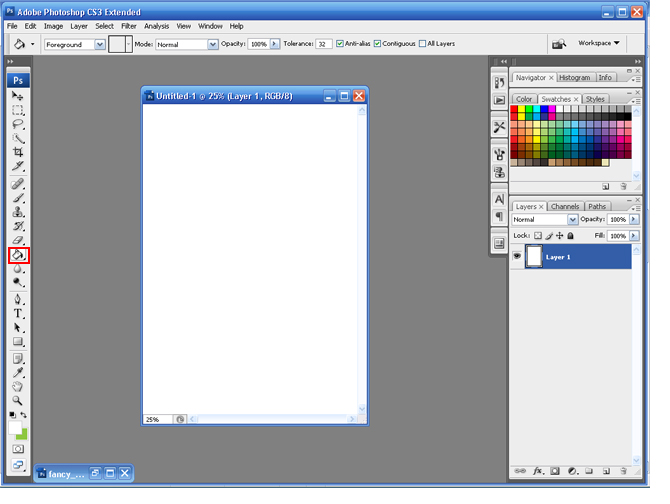
Step 2 Change the foreground color to White > Select the Paintbucket tool and click once on the canvas. This will change the background to white.
Step 3 Change the Foreground color to Black and the Background color to Green. Add a new Layer: Layer > New > Layer.

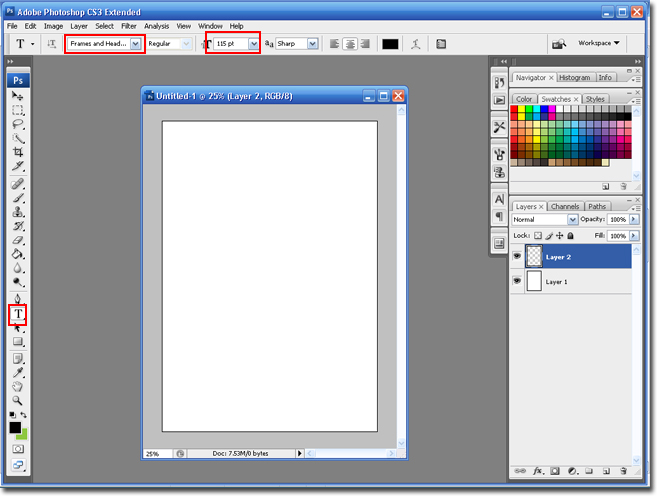
Step 4 Select the Text tool and change the font to Frames and Headers and use the following settings. Download Here
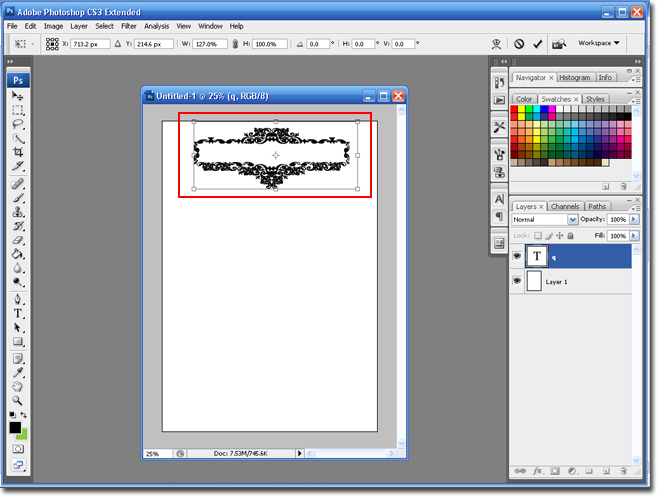
Step 5 Type Q, on your keyboard. Select Ctrl + T and stretch the image to make it wider. Click on the green check mark when finished.
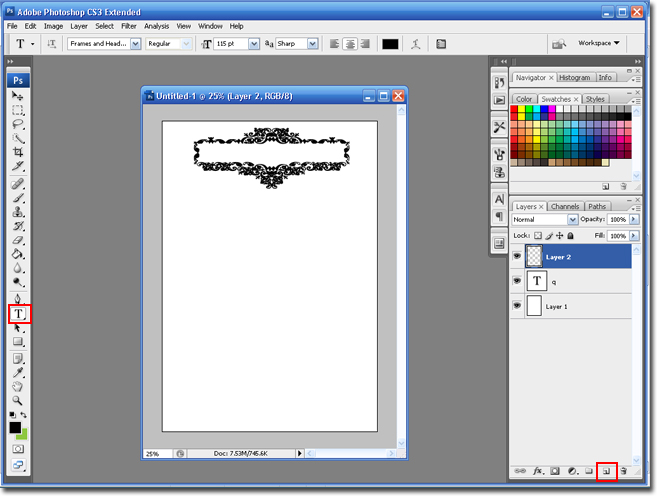
Step 6 Create a new layer (Layer > New > Layer or use the Add New Layer Icon) and Select the Text Tool.
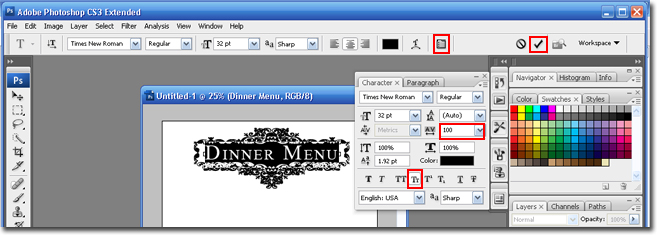
Step 7 Change the font to Times New Roman (or a similar serif font) and change the size to 32. Type in Dinner Menu. Don't worry about it being centered, we can change that later.

Step 8 Highlight the text and select the Character and Paragraph Pallet. Change the spacing to 100 and click on the Small Caps button. Click the Green Arrow when finished.
Step 9 Create a new layer (Layer > New > Layer or use the Add New Layer Icon) and cut and paste your whole dinner menu into the new layer. Don't worry if the formatting is all messed up, we are going to fix that.
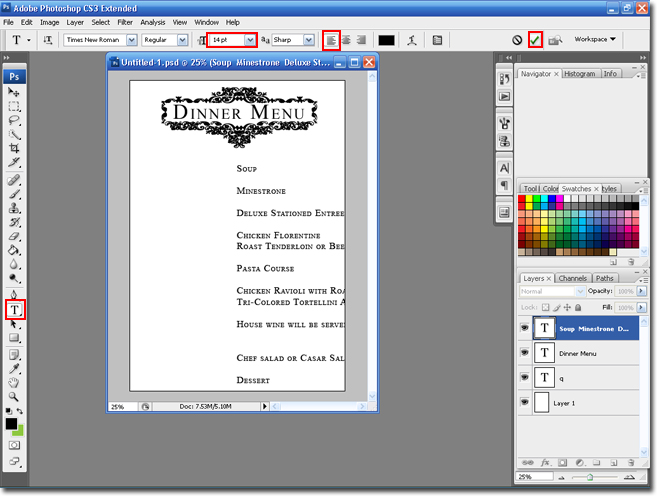
Step 10 With the Text too selected, highlight all the text you just pasted into the canvas. Change the font size to 14 (you may need to go smaller or larger if your menu is bigger, but you can adjust that later). Select the Left Align Text button. Select the Green check mark when you are finished.
Step 11 Select the Move Tool to center your text.

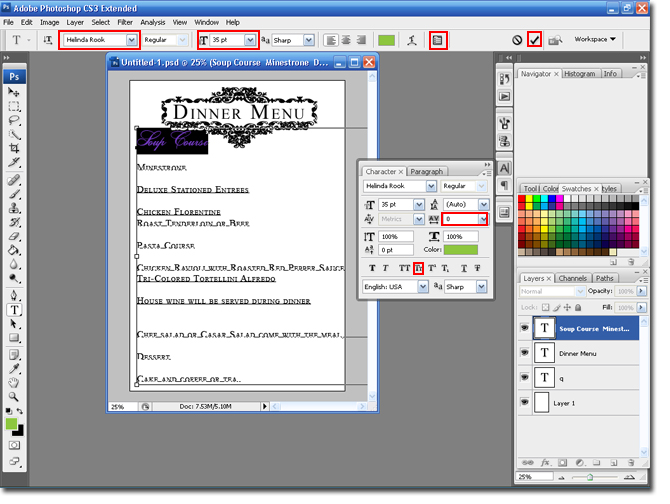
Step 12 Select each Header, like Entree, 1st course, Desert etc, and change the font, color, text size, remove small caps and spacing.
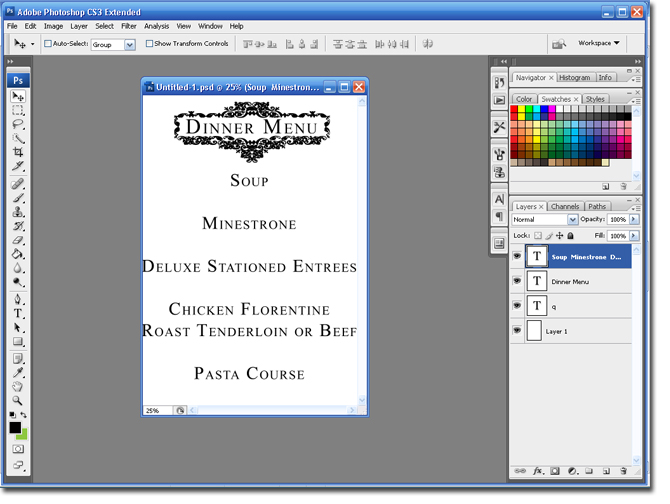
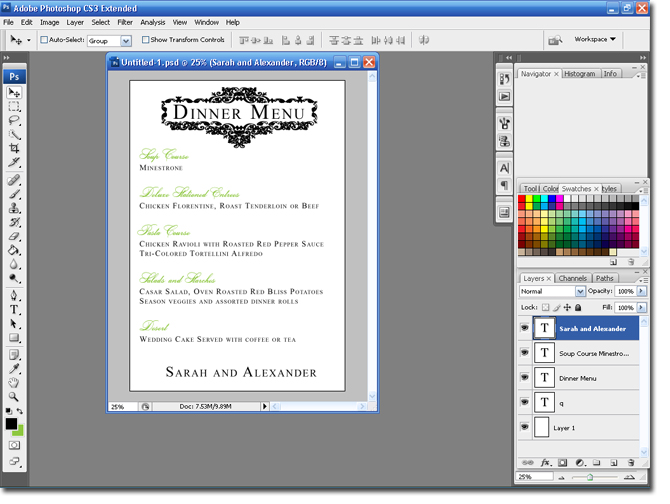
Here is what it should look like after step 12.

Step 13 In this step you will fix the formatting. Move all the extra spaces between lines, move text to new lines and just overall fix the formatting. Play around with font sizes until you are happy with the results.
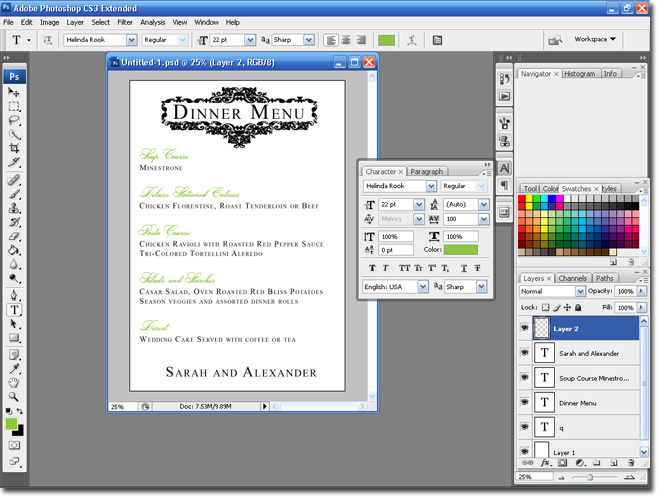
Step 14 Create a new layer (Layer > New > Layer or use the Add New Layer Icon), select the Text tool and change the Foreground color to black. Select Times New Roman with 22 as the size. Select the Character and Paragraph Pallet and click on the Small Caps button.

Step 15 Type in you and your FI's name.
Step 16 Create a new layer (Layer > New > Layer or use the Add New Layer Icon), select the Text tool and change the Foreground color to green. Select a Script font with 22 as the size. Select the Character and Paragraph Pallet and click on the Small Caps button.
Step 17 Type in your wedding date, and use the move tool to position it where you think it looks best. I am going to make it look like the date and names are twined. Check out my Twine Monograms Tutorial for steps.
I added a border as a finishing touch. You can find the steps in my How to Create a Border Blog entry.
Here is the finished product:

You can download my template here
Note: This is only a photoshop (.psd) file, it will not work in other programs.
For this blog entry I wanted to show you how simple it can be to create a dinner menu for your reception. They look so pretty on the table and they, just like flowers, add a nice touch of color to your reception.
Your menu cards can range from the very very simple, to the super ornate and fancy. Here I am going to show you one that falls somewhere in the middle. I will, also, be giving you the link so you can download the template and edit it with your info.
I am sooooo in love with black and lime green right now (like you couldn't tell from new blog look), so those are the colors I am going to be using. You will be able to change the colors to match your needs.
Step 1 Open Photoshop and create a new canvas: Ctrl + N. I am going to make mine 4.5x6.5, because I am going to add a border. If you don't want a border, or you want your menu a different size, enter your values here. Make sure the resolution is set to 300dpi.
Step 2 Change the foreground color to White > Select the Paintbucket tool and click once on the canvas. This will change the background to white.
Step 3 Change the Foreground color to Black and the Background color to Green. Add a new Layer: Layer > New > Layer.
Step 4 Select the Text tool and change the font to Frames and Headers and use the following settings. Download Here
Step 5 Type Q, on your keyboard. Select Ctrl + T and stretch the image to make it wider. Click on the green check mark when finished.
Step 6 Create a new layer (Layer > New > Layer or use the Add New Layer Icon) and Select the Text Tool.
Step 7 Change the font to Times New Roman (or a similar serif font) and change the size to 32. Type in Dinner Menu. Don't worry about it being centered, we can change that later.
Step 8 Highlight the text and select the Character and Paragraph Pallet. Change the spacing to 100 and click on the Small Caps button. Click the Green Arrow when finished.
Step 9 Create a new layer (Layer > New > Layer or use the Add New Layer Icon) and cut and paste your whole dinner menu into the new layer. Don't worry if the formatting is all messed up, we are going to fix that.
Step 10 With the Text too selected, highlight all the text you just pasted into the canvas. Change the font size to 14 (you may need to go smaller or larger if your menu is bigger, but you can adjust that later). Select the Left Align Text button. Select the Green check mark when you are finished.
Step 11 Select the Move Tool to center your text.
Step 12 Select each Header, like Entree, 1st course, Desert etc, and change the font, color, text size, remove small caps and spacing.
Here is what it should look like after step 12.
Step 13 In this step you will fix the formatting. Move all the extra spaces between lines, move text to new lines and just overall fix the formatting. Play around with font sizes until you are happy with the results.
Step 14 Create a new layer (Layer > New > Layer or use the Add New Layer Icon), select the Text tool and change the Foreground color to black. Select Times New Roman with 22 as the size. Select the Character and Paragraph Pallet and click on the Small Caps button.
Step 15 Type in you and your FI's name.
Step 16 Create a new layer (Layer > New > Layer or use the Add New Layer Icon), select the Text tool and change the Foreground color to green. Select a Script font with 22 as the size. Select the Character and Paragraph Pallet and click on the Small Caps button.
Step 17 Type in your wedding date, and use the move tool to position it where you think it looks best. I am going to make it look like the date and names are twined. Check out my Twine Monograms Tutorial for steps.
I added a border as a finishing touch. You can find the steps in my How to Create a Border Blog entry.
Here is the finished product:
You can download my template here
Note: This is only a photoshop (.psd) file, it will not work in other programs.
Sunday, April 13, 2008
Désolé, Spiacente, Traurig...Sorry
I'm so sorry for the lack of tutorials posts!! I have been super busy creating monograms for brides. My next blog entry will be a tutorial on how to create a menu for a Wedding Reception. I will make sure to post the file so you gals can download it as a template. In the future I'll be creating some more 'Get This Look' invitation tutorials, with the file so you can use it as a template, as well as the inserts for the previous Get This Look invitation. I will, also, have a tutorial for those gals that are keeping their last name and want it on their monogram.
I wanted to clear up some Photoshop Elements questions. I don't have the program, but from what I undersaatnd you can create monograms and invitations in this version of Photoshop. The program is about $500.00 less than the full version of Photoshop.
As always, feel free to email me with tutorials you would like to see or Photoshop questions you might have. I may not know the answer, but I might be able to point you in the right direction.
Big Hugs,
BriannaNichole!
Thursday, April 10, 2008
Wedding Maps
I just found this really great wedding map site called http://www.weddingmapper.com/. It lets you location where your Ceremony, Reception, RD etc are located on a map. You can show your guests where local hotels and attractions are. Which is really prefect if you have a lot of out-of-town guests or you are having a destination wedding. Its totally free and really cool. I just wish I knew about this when I was planning my wedding!
Happy Planning,
BriannaNichole!
Happy Planning,
BriannaNichole!
Tuesday, April 8, 2008
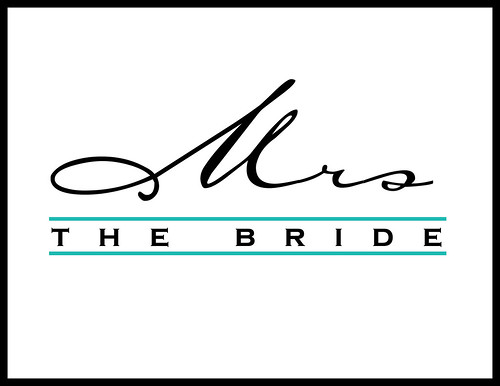
Mr. and Mrs. Signs
The Mr. and Mrs. or Bride and Groom signs are a great way to let all of your reception know just who you are, like the big white dress and glowing faces were not a dead give away. They are designed to hang on the back of your chair and announce to the world your newly married status. Here is an example of some that I created for Chastity and Albert's beautiful wedding:

What is so easy about these signs is that they are designed to be the size of standard paper....so no cutting!
Step 1 Open Photoshop and create a new Canvas: Ctrl + N or File > New. The canvas should be the following setting:
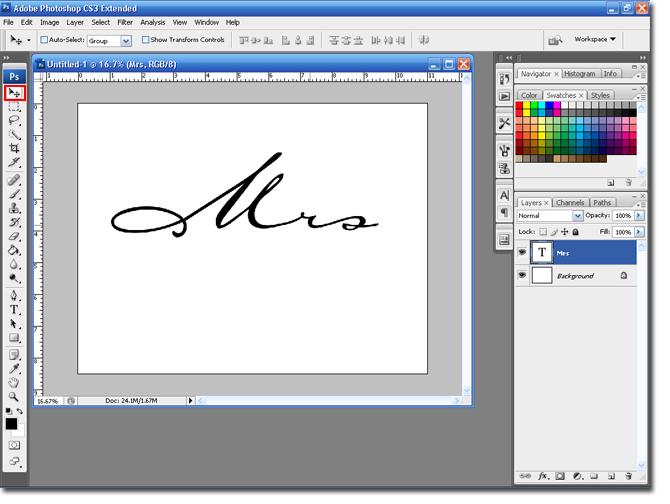
Step 2 Select the Type Tool and a Script font. For this tutorial I am going to use the Carpenter Script, which you may remember from a previous blog entry. Set the font size to 250pt.

Step 3 Type in Mrs. You may need to use the Move Tool to center the type on the canvas.
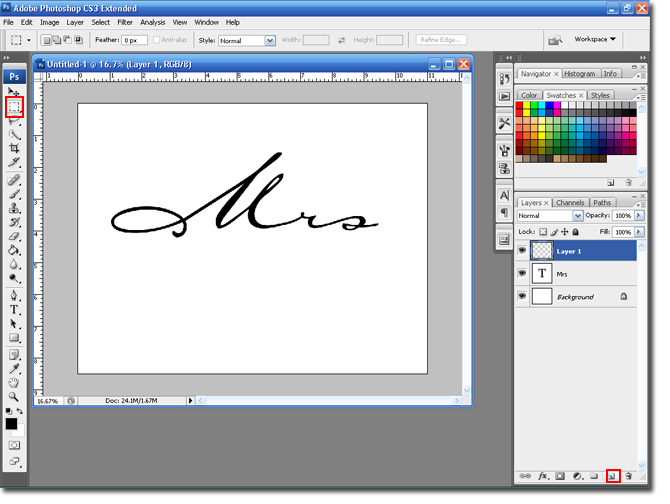
Step 4 Create a new layer and Select the Rectangle Marquee Tool.
Step 5 Hold down the Left mouse button and drag it to the side, creating a line.

Step 6 Select the Paintbucket tool and fill the line with the color of your choice.
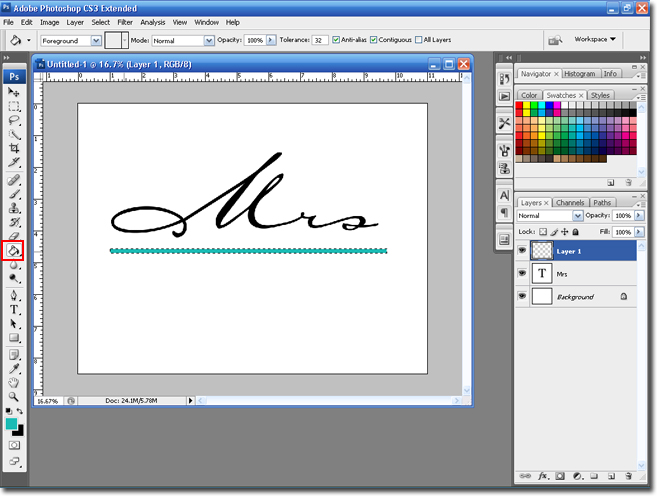
If the line is too thick you can use the Down-Arrow, on your keyboard. This will move the selection (marching ants) down. Hit the Delete button.

Step 7 Select the Type tool and change the font to a block, or serif font. In this case I am going to use Copperplate Gothic Bold. Set the size to 50Pt.
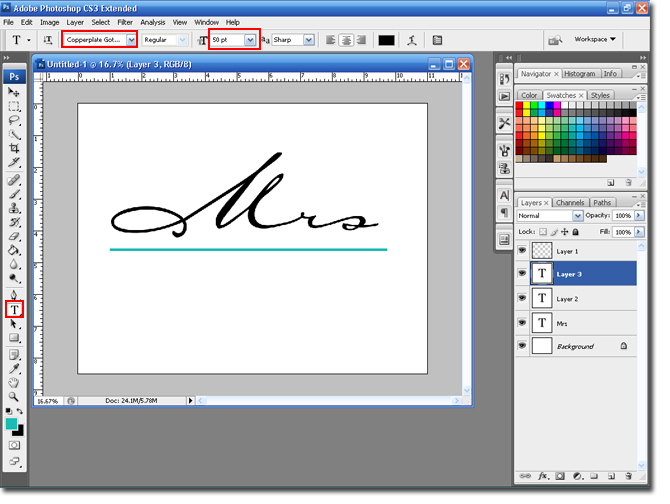
Step 8 Type in 'The Bride' and highlight the text. Select the Character and Paragraph pallet.

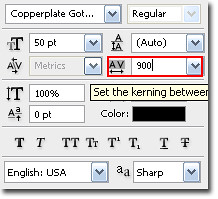
Step 9 Change the width to . Depending on the font you use you may need to play around with this setting.
Step 10 Select the layer with the line and duplicate the layer: Ctrl + J.
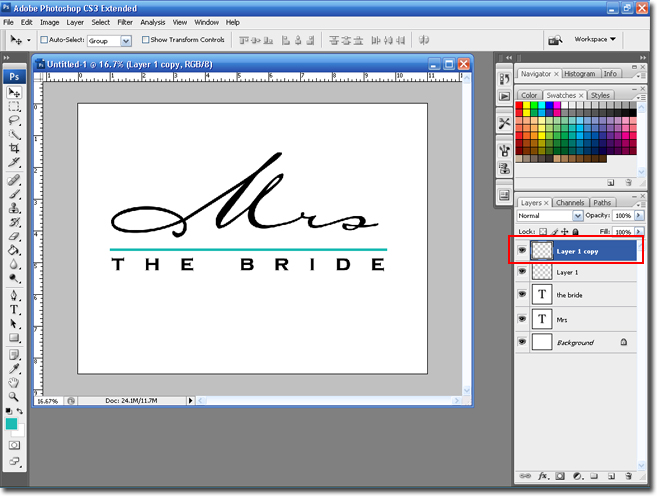
Step 11 Select the move tool. Move the duplicated line layer to the bottom of 'The Bride' text.

You are finished. Just change the text to 'Mr' and 'The Groom'.
Try adding a border or a Cardstock backing to the sign. to add some depth.
Use ribbon to attach it to the chair, or get creative!
Thanks,
BriannaNichole!
What is so easy about these signs is that they are designed to be the size of standard paper....so no cutting!
Step 1 Open Photoshop and create a new Canvas: Ctrl + N or File > New. The canvas should be the following setting:
Step 2 Select the Type Tool and a Script font. For this tutorial I am going to use the Carpenter Script, which you may remember from a previous blog entry. Set the font size to 250pt.
Step 3 Type in Mrs. You may need to use the Move Tool to center the type on the canvas.
Step 4 Create a new layer and Select the Rectangle Marquee Tool.
Step 5 Hold down the Left mouse button and drag it to the side, creating a line.
Step 6 Select the Paintbucket tool and fill the line with the color of your choice.
If the line is too thick you can use the Down-Arrow, on your keyboard. This will move the selection (marching ants) down. Hit the Delete button.
Step 7 Select the Type tool and change the font to a block, or serif font. In this case I am going to use Copperplate Gothic Bold. Set the size to 50Pt.
Step 8 Type in 'The Bride' and highlight the text. Select the Character and Paragraph pallet.
Step 9 Change the width to . Depending on the font you use you may need to play around with this setting.
Step 10 Select the layer with the line and duplicate the layer: Ctrl + J.
Step 11 Select the move tool. Move the duplicated line layer to the bottom of 'The Bride' text.
You are finished. Just change the text to 'Mr' and 'The Groom'.
Try adding a border or a Cardstock backing to the sign. to add some depth.
Use ribbon to attach it to the chair, or get creative!
Thanks,
BriannaNichole!
Tuesday, April 1, 2008
Free Wedding Monograms...So Far.
UPDATE!!! I have added more monograms
All the free monograms are now finished. Thanks to everyone who inquired about monograms. I hope they work out for you. I would love to see pictures of what you use them for. Please send them to: weddingmonograms@gmail.com.
I have listed the monograms under your names and wedding date. Please email me with the monogram you would like for free, and I can email it to you. If you would like to purchase the other monograms it will be $5. At that time you can request any edits; font, colors etc.
BriannaNichole!
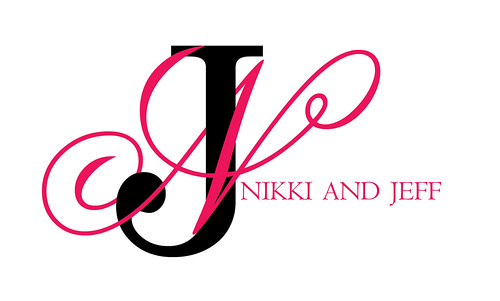
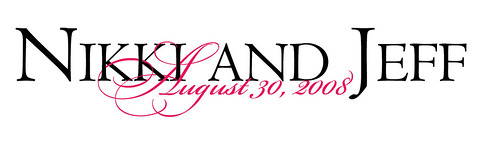
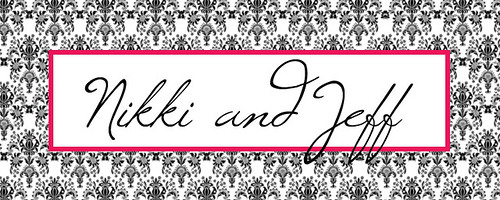
Nikki & Jeff 8.30.08


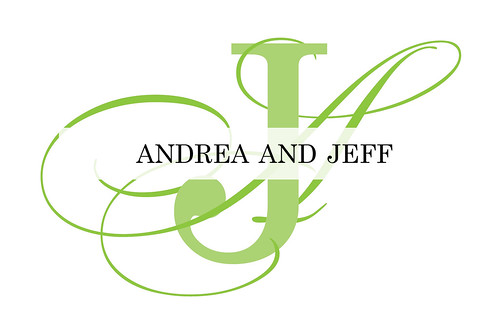
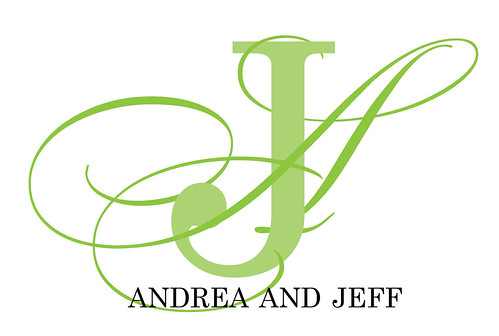
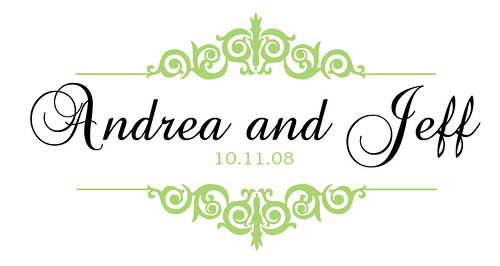
Andrea & Jeff 10.11.08

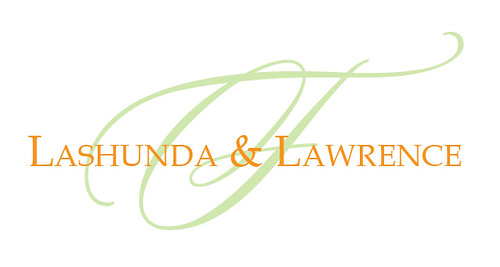
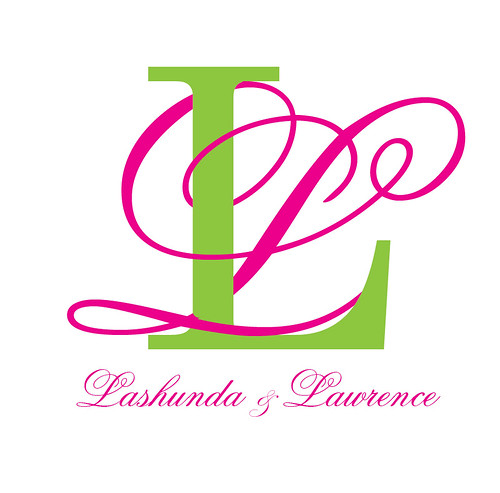
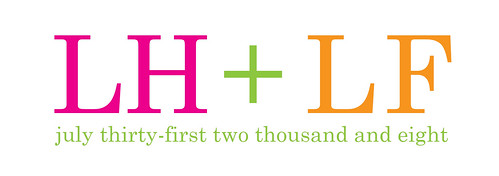
Lashunda & Lawrence 7.31.08


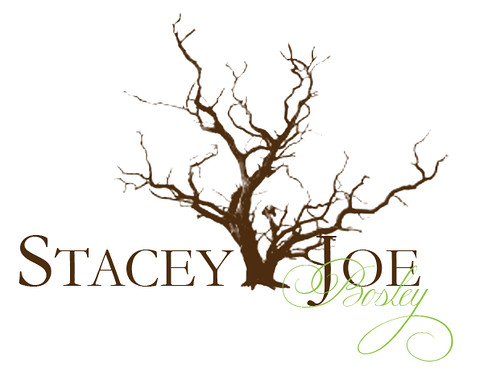
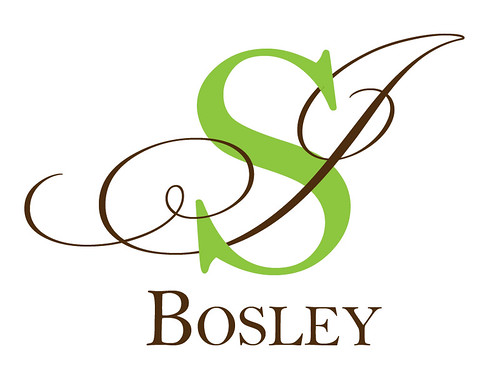
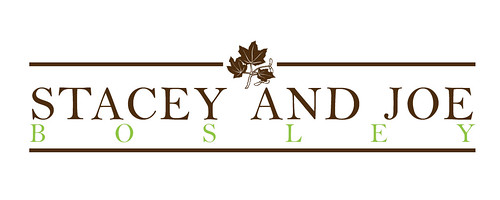
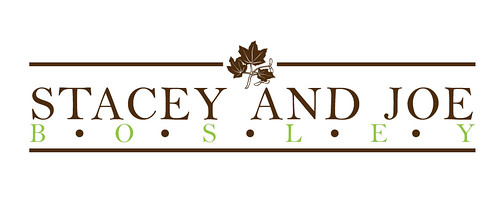
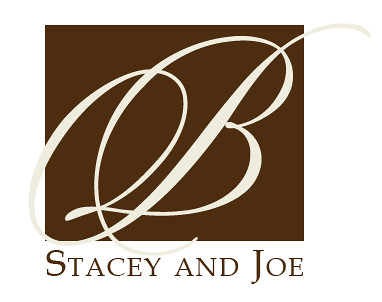
Stacey & Joe
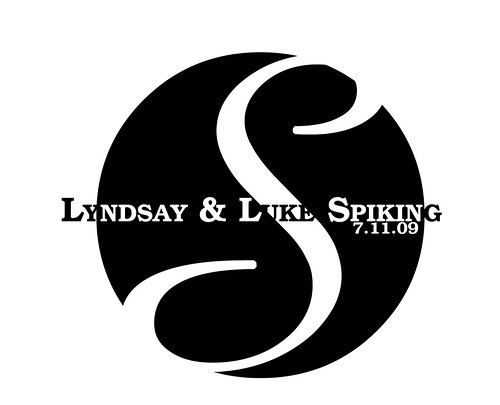
Lyndsay & Luke 7.11.09


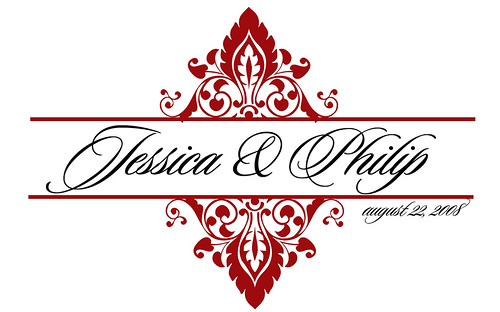
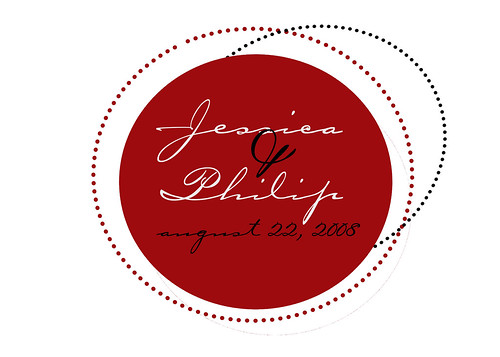
Jessica & Philip 8.15.09


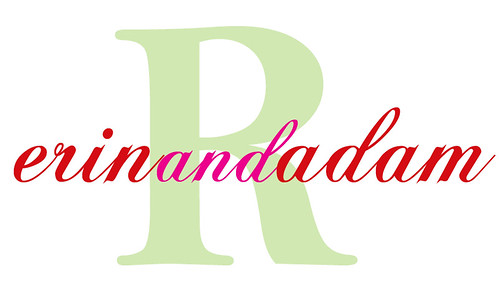
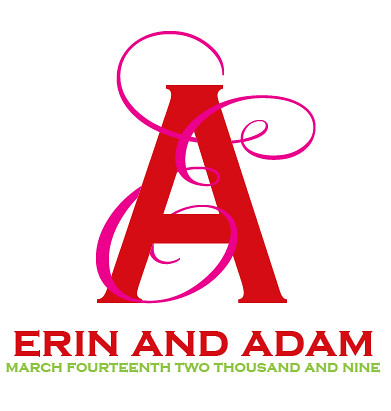
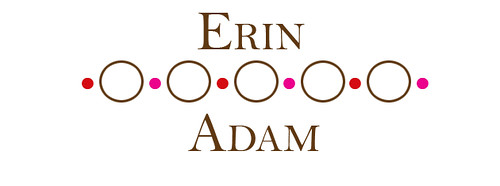
Erin & Adam 4.14.2009


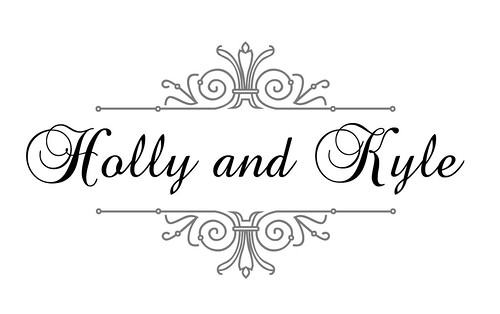
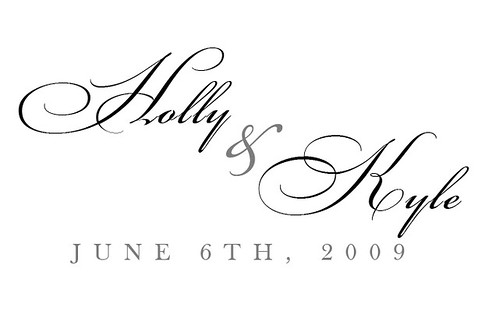
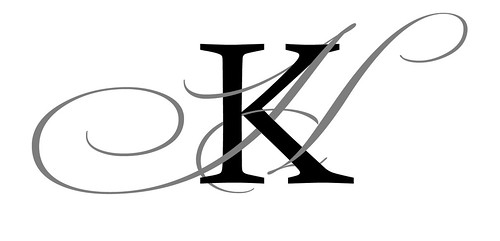
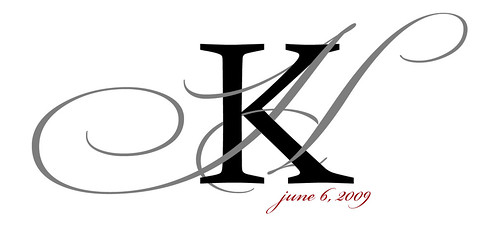
Holly & Kyle 6.6.2009

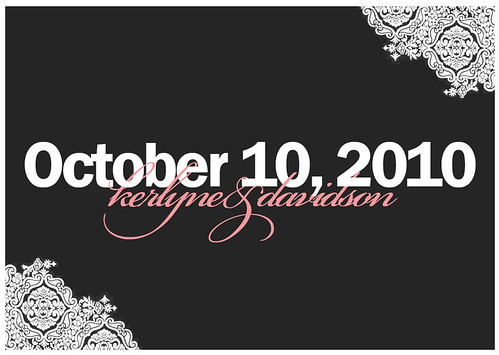
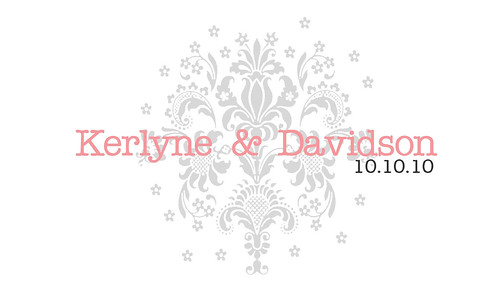
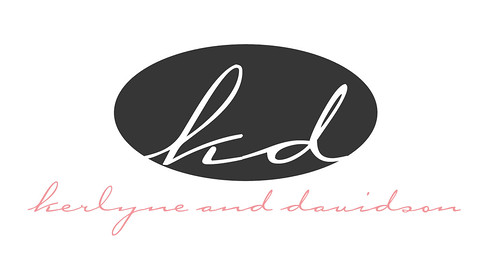
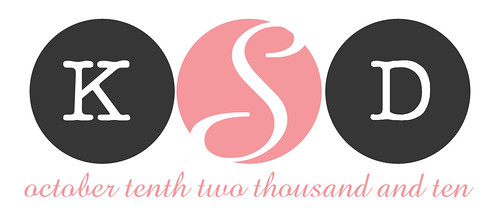
Kerlyne & Davidson 10.10.10
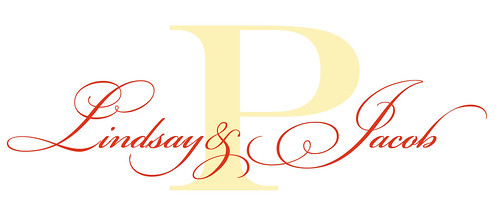
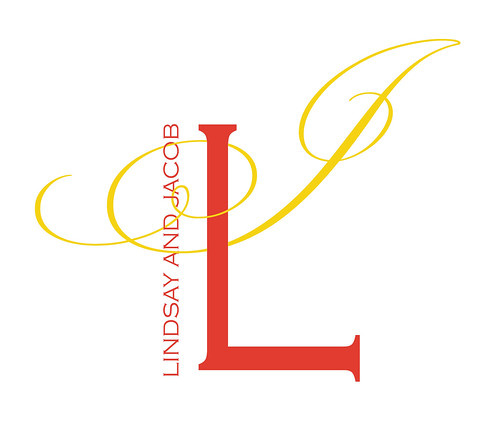
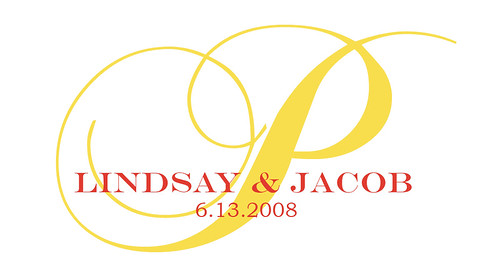
Lindsay & Jacob 6.13.08

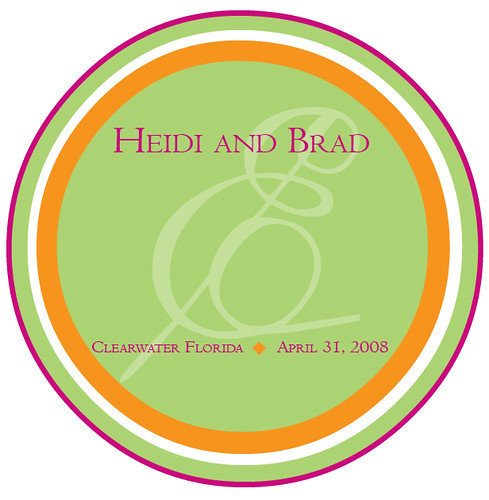
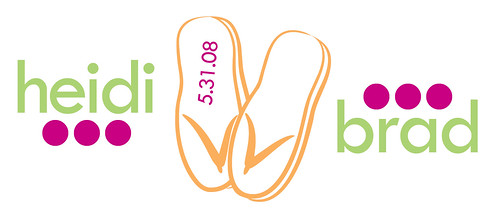
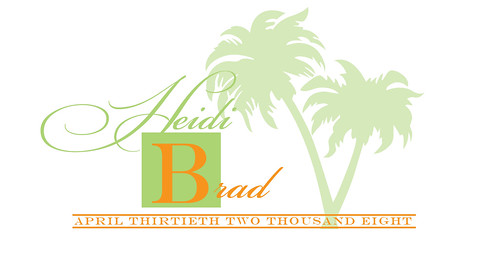
Heidi & Brad 4.31.08


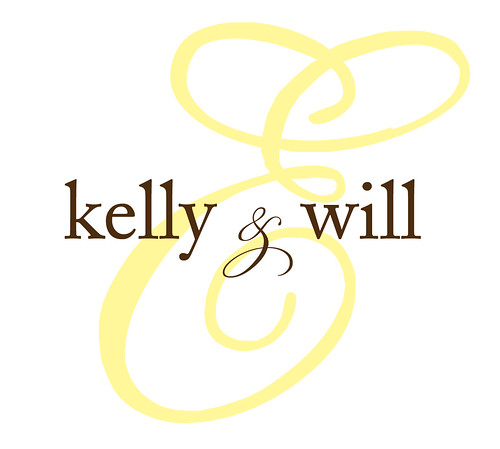
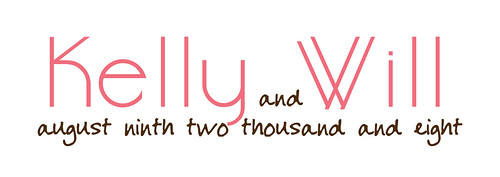
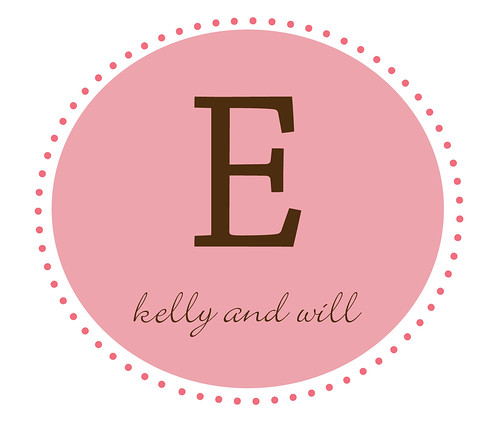
Kelly & Will 8.9.08


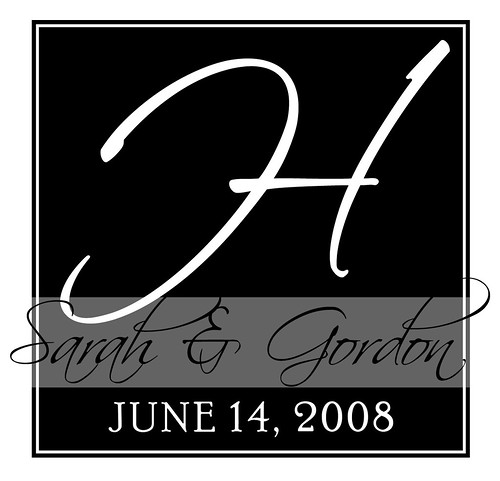
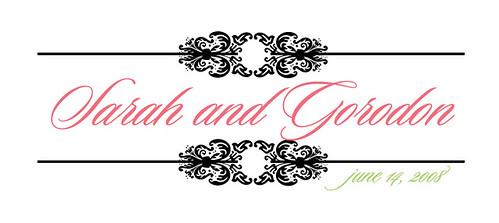
Sarah & Gordon 6.14.08


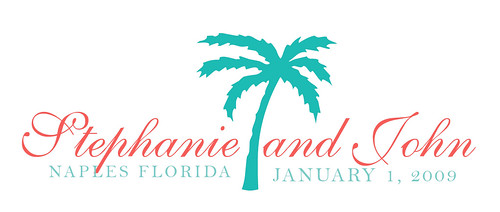
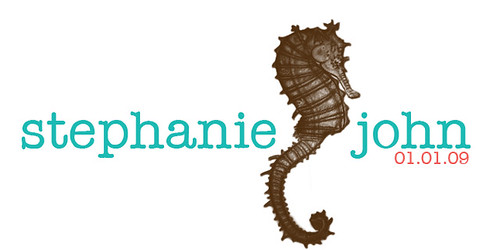
Stephanie & John 1.1.09


All the free monograms are now finished. Thanks to everyone who inquired about monograms. I hope they work out for you. I would love to see pictures of what you use them for. Please send them to: weddingmonograms@gmail.com.
I have listed the monograms under your names and wedding date. Please email me with the monogram you would like for free, and I can email it to you. If you would like to purchase the other monograms it will be $5. At that time you can request any edits; font, colors etc.
BriannaNichole!
Nikki & Jeff 8.30.08
Andrea & Jeff 10.11.08
Lashunda & Lawrence 7.31.08
Stacey & Joe
Lyndsay & Luke 7.11.09
Jessica & Philip 8.15.09
Erin & Adam 4.14.2009
Holly & Kyle 6.6.2009
Kerlyne & Davidson 10.10.10
Lindsay & Jacob 6.13.08
Heidi & Brad 4.31.08
Kelly & Will 8.9.08
Sarah & Gordon 6.14.08
Stephanie & John 1.1.09
Subscribe to:
Posts (Atom)