
For this blog entry I wanted to show you how simple it can be to create a dinner menu for your reception. They look so pretty on the table and they, just like flowers, add a nice touch of color to your reception.
Your menu cards can range from the very very simple, to the super ornate and fancy. Here I am going to show you one that falls somewhere in the middle. I will, also, be giving you the link so you can download the template and edit it with your info.
I am sooooo in love with black and lime green right now (like you couldn't tell from new blog look), so those are the colors I am going to be using. You will be able to change the colors to match your needs.
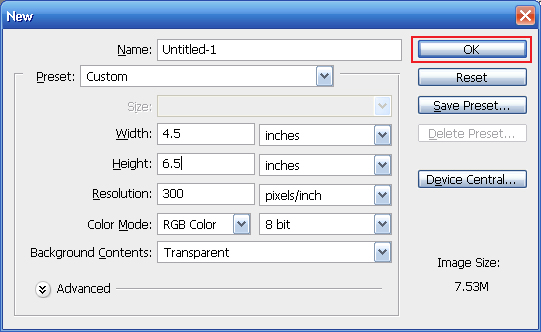
Step 1 Open Photoshop and create a new canvas: Ctrl + N. I am going to make mine 4.5x6.5, because I am going to add a border. If you don't want a border, or you want your menu a different size, enter your values here. Make sure the resolution is set to 300dpi.
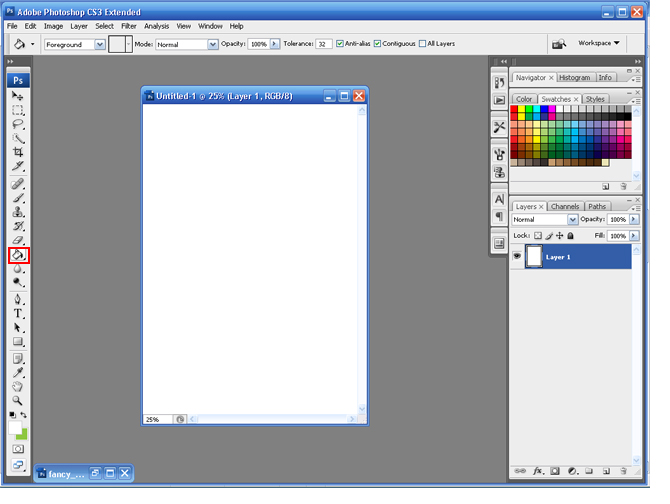
Step 2 Change the foreground color to White > Select the Paintbucket tool and click once on the canvas. This will change the background to white.
Step 3 Change the Foreground color to Black and the Background color to Green. Add a new Layer: Layer > New > Layer.

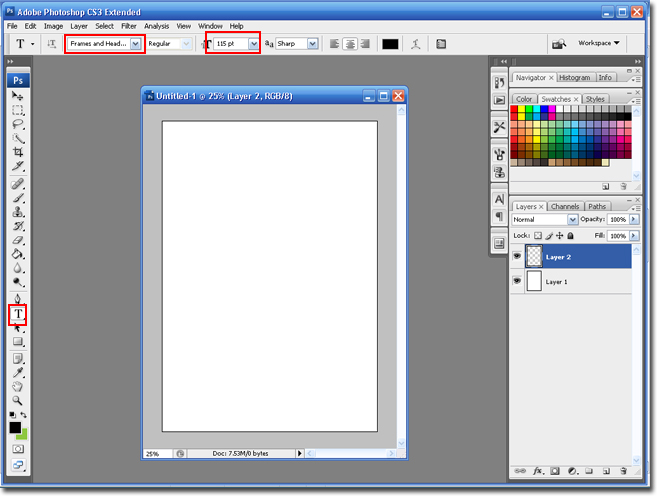
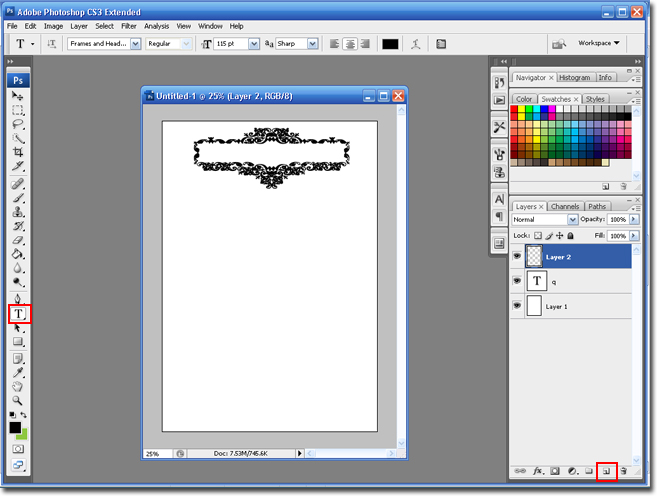
Step 4 Select the Text tool and change the font to Frames and Headers and use the following settings. Download Here
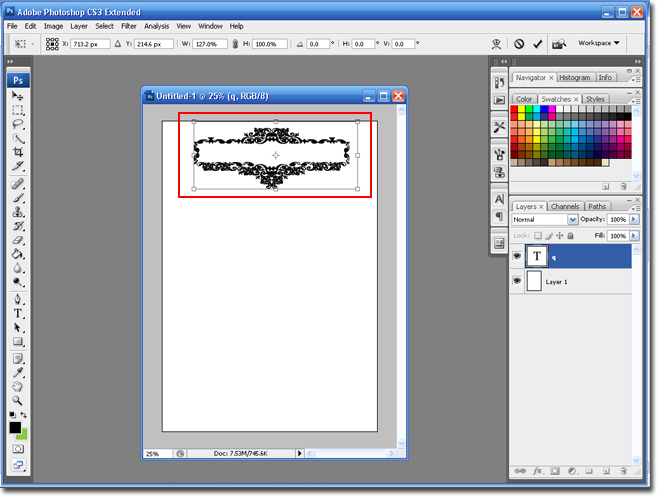
Step 5 Type Q, on your keyboard. Select Ctrl + T and stretch the image to make it wider. Click on the green check mark when finished.
Step 6 Create a new layer (Layer > New > Layer or use the Add New Layer Icon) and Select the Text Tool.
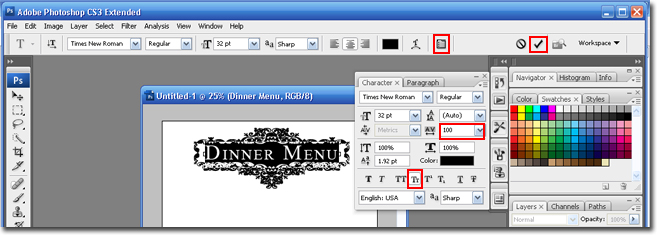
Step 7 Change the font to Times New Roman (or a similar serif font) and change the size to 32. Type in Dinner Menu. Don't worry about it being centered, we can change that later.

Step 8 Highlight the text and select the Character and Paragraph Pallet. Change the spacing to 100 and click on the Small Caps button. Click the Green Arrow when finished.
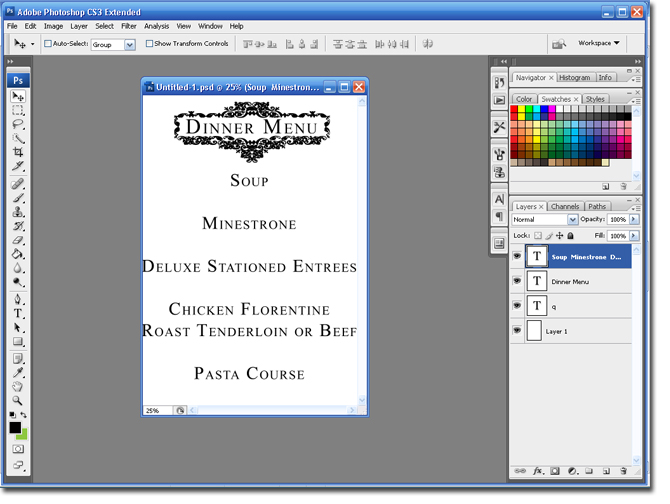
Step 9 Create a new layer (Layer > New > Layer or use the Add New Layer Icon) and cut and paste your whole dinner menu into the new layer. Don't worry if the formatting is all messed up, we are going to fix that.
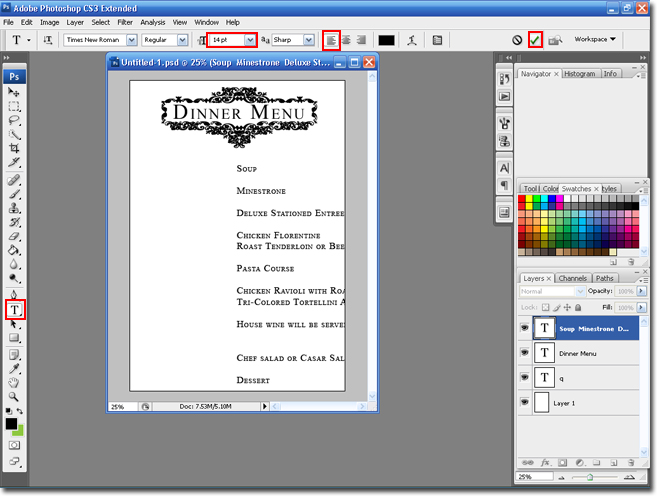
Step 10 With the Text too selected, highlight all the text you just pasted into the canvas. Change the font size to 14 (you may need to go smaller or larger if your menu is bigger, but you can adjust that later). Select the Left Align Text button. Select the Green check mark when you are finished.
Step 11 Select the Move Tool to center your text.

Step 12 Select each Header, like Entree, 1st course, Desert etc, and change the font, color, text size, remove small caps and spacing.
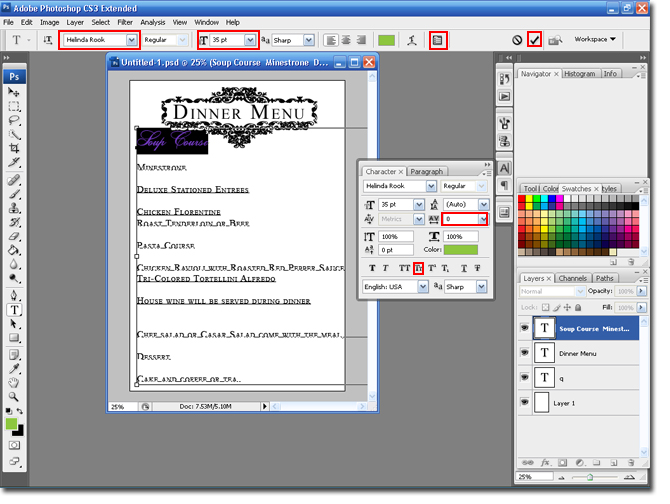
Here is what it should look like after step 12.

Step 13 In this step you will fix the formatting. Move all the extra spaces between lines, move text to new lines and just overall fix the formatting. Play around with font sizes until you are happy with the results.
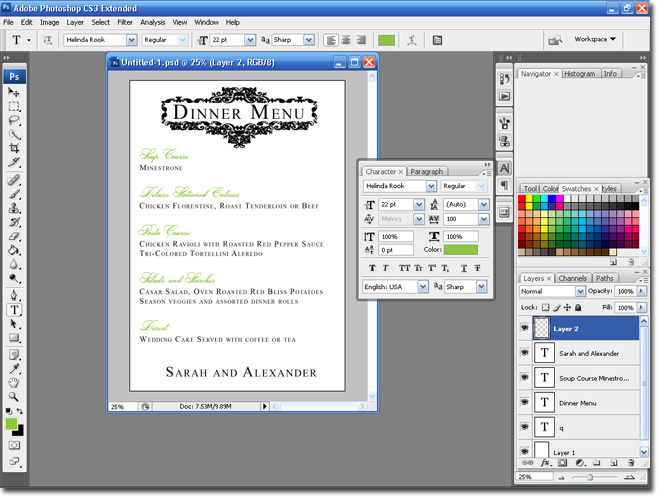
Step 14 Create a new layer (Layer > New > Layer or use the Add New Layer Icon), select the Text tool and change the Foreground color to black. Select Times New Roman with 22 as the size. Select the Character and Paragraph Pallet and click on the Small Caps button.

Step 15 Type in you and your FI's name.
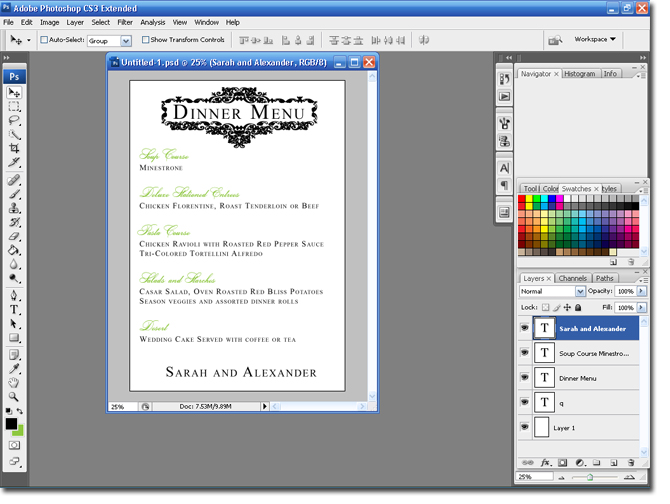
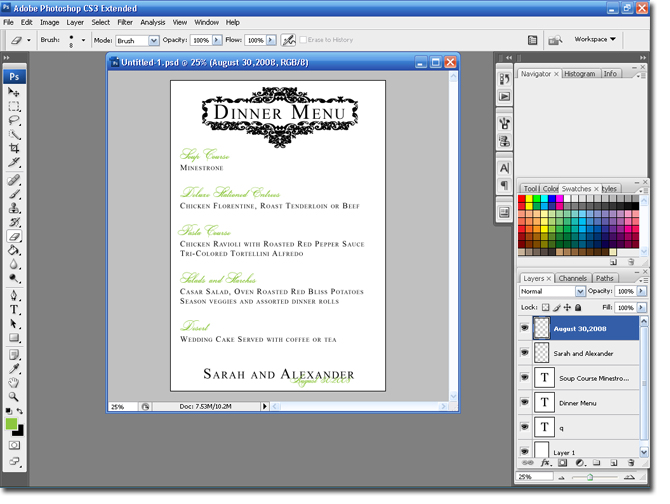
Step 16 Create a new layer (Layer > New > Layer or use the Add New Layer Icon), select the Text tool and change the Foreground color to green. Select a Script font with 22 as the size. Select the Character and Paragraph Pallet and click on the Small Caps button.
Step 17 Type in your wedding date, and use the move tool to position it where you think it looks best. I am going to make it look like the date and names are twined. Check out my Twine Monograms Tutorial for steps.
I added a border as a finishing touch. You can find the steps in my How to Create a Border Blog entry.
Here is the finished product:

You can download my template here
Note: This is only a photoshop (.psd) file, it will not work in other programs.
2 comments:
Thank you Brianna! It looks great! I cant wait to play around with it in Photoshop! Keep those tutorials coming!
Thank you Brianna! It looks great! I can't wait to play around with it in Photoshop! Keep those tutorials coming!
Post a Comment