
There are a lot of steps to this tutorial, but don't get discouraged. It may seem like a lot of steps but they are pretty easy and very similar.
Good Luck!
So here is the design that we are going for:

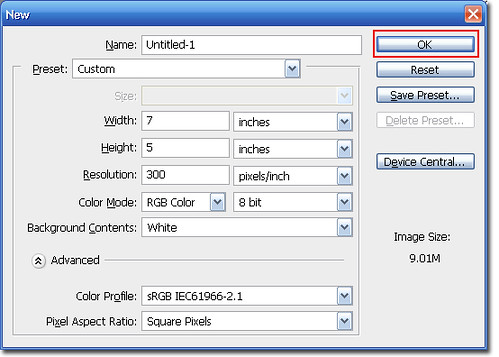
Step 1 Open Photoshop and create a new Canvas: Ctrl + N or File > New. The canvas should be the following setting:
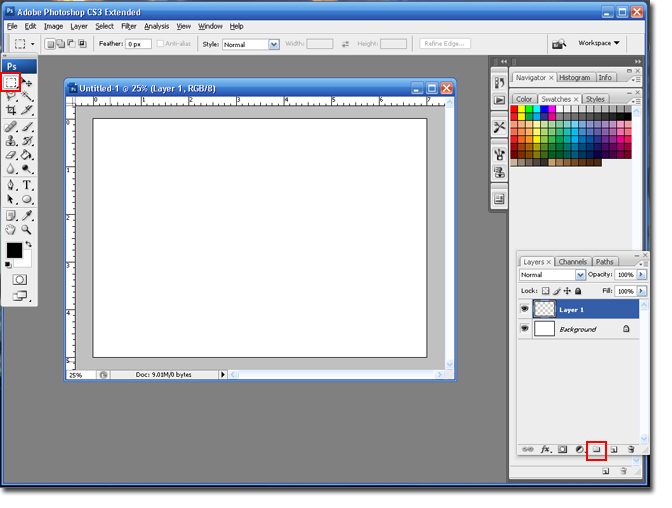
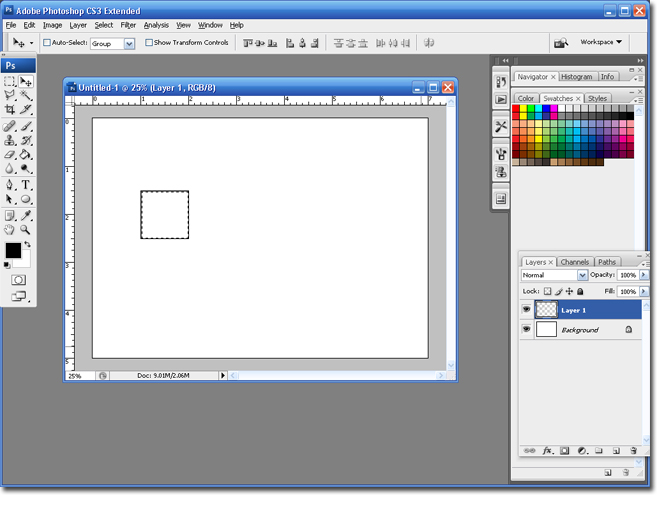
Step 2 Create a new layer and select the Marquee tool.
Step 3 Draw a square 1 inch x 1 inch. Draw the square by left-clicking on the mouse and dragging it to the right.

Note: You can turn the rulers on by hitting Ctrl + R.
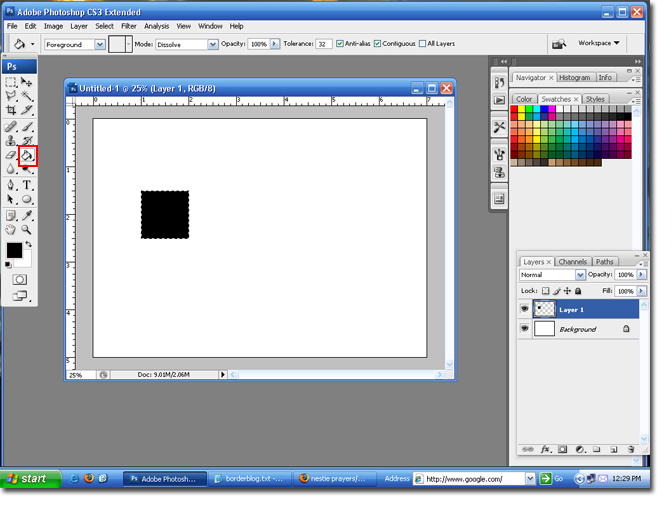
Step 4 Select the Paintbucket tool and click on the canvas to fill in your color.
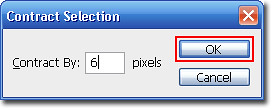
Step 5 Go to Select > Modify > Contract.

Step 6 Set the contact size to 6 pixels, and then click the Ok button to save the settings.
Step 7 Hit the delete button button on your keyboard and follow steps 5 and 6.
Step 8 Select the Paintbucket tool and click on the canvas to fill in your color. Select Ctrl + D to deselect (remove the Dancing Ants).
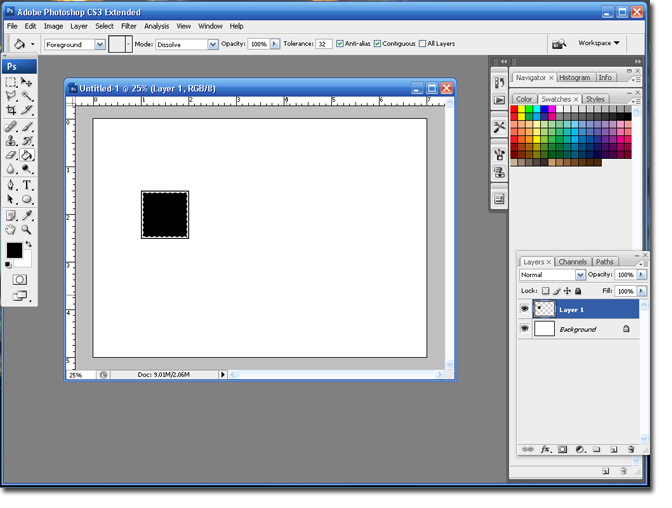
Your Smaller square is finished.
Step 9 Select the Type Tool, set the font to Times and the size to 90.
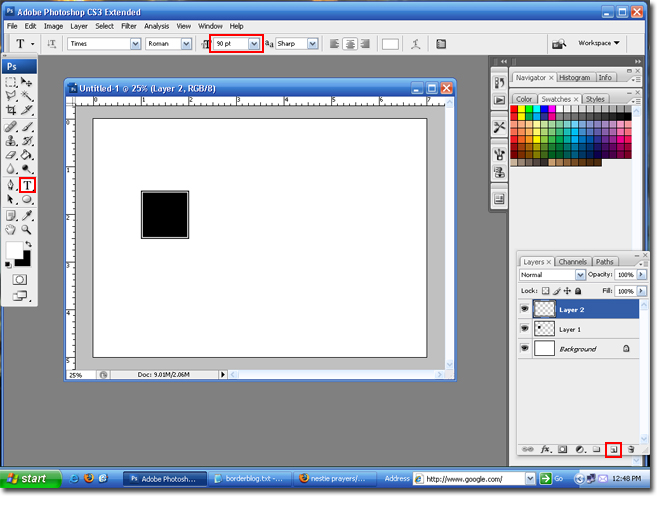
Step 10 Type in the first letter of the Bride's name. Depending on the letter you use, you may need to adjust the size to better fit in the box.
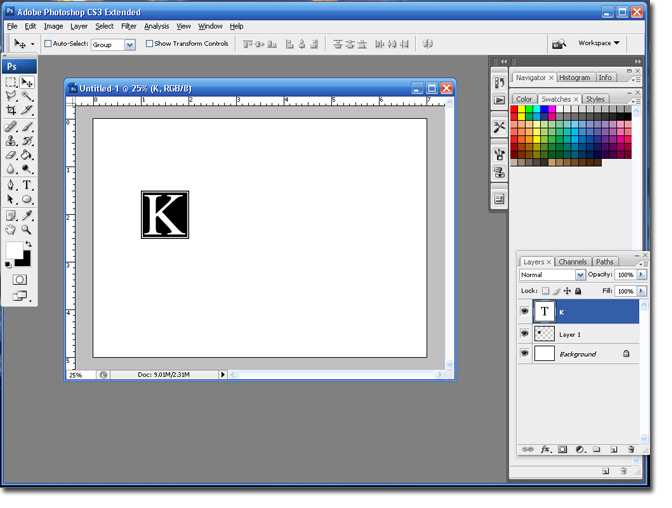
Step 11 In the layers pallet; select the layer with the box and the layer with the first initial. Hold down the Ctrl button to select both layers at the same time. They will both appear blue.

Step 12 Drag those layers to the Add New Layer icon. This will duplicate both layers.

Step 13 Select the Move Tool and hold down the Shift key. Move the 2nd box and initial to the right. Make sure to leave enough room for another box, in the center.
Step 14 Select the Type Tool and highlight the second letter and change the letter to the Groom's first name letter. Click on the Green Check when you are finished.
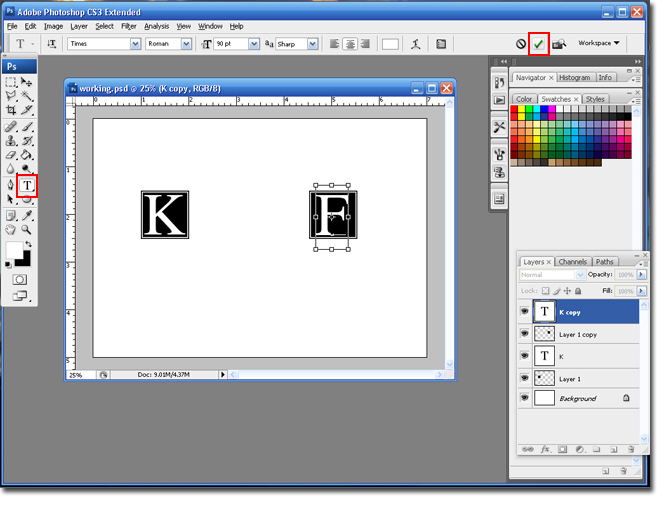
Your second Box is Finished!
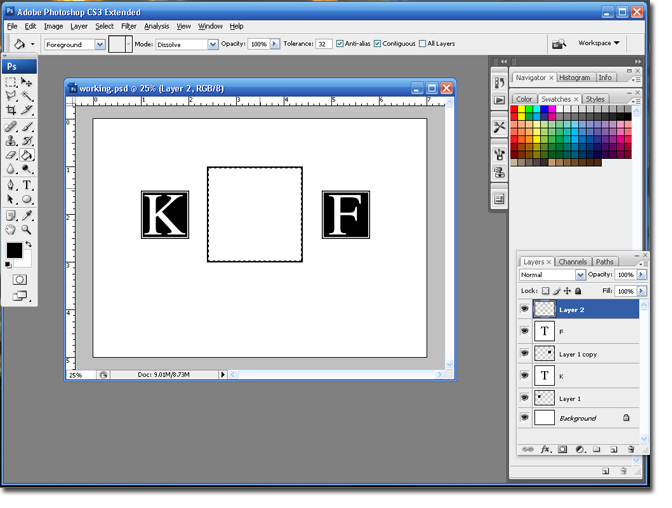
Step 15 Add a new layer and select the Marquee Tool.
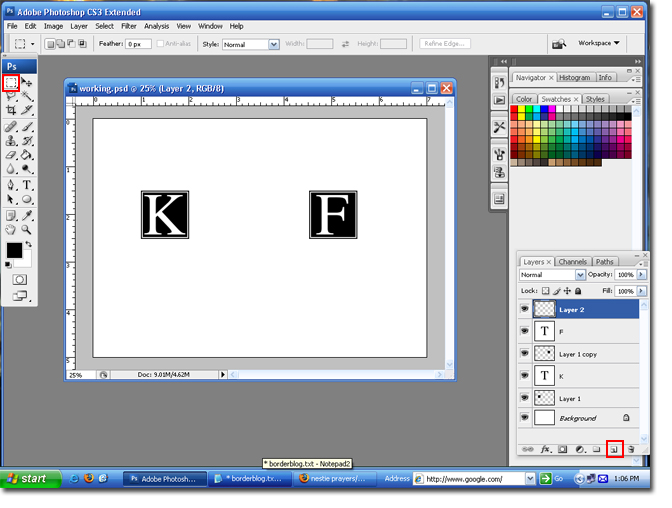
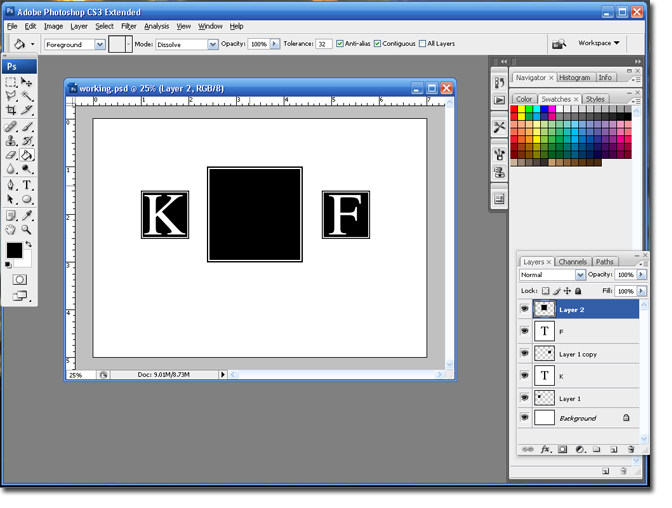
Step 16 Draw a square 2 inches x 2 inches. Select the Paintbucket Tool and fill in the square.
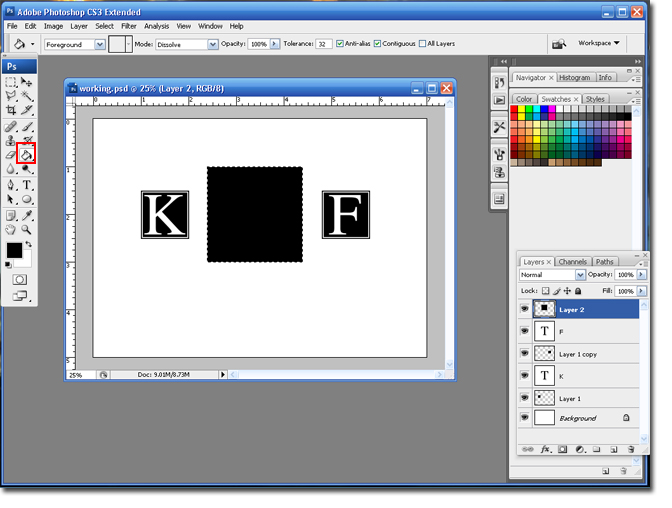
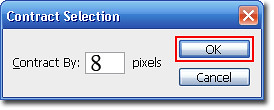
Step 17 Go to Select > Modify > Contract.
Step 18 Set the contact size to 8 pixels, and then click the Ok button to save the settings.
Step 19 Hit the Delete button on your keyboard.
Step 20 Follow Steps 17 & 18.
Step 21 Select the Paintbucket Tool and fill in the square.
Step 22 Select the Type tool, set the font to Brock Script, or another script font and set the size to 120.

Note: Depending on the letter you may need to adjust the size of the font.
Step 23 In the third box; type in the first initial of the groom's last name.

Step 24 Select the Crop Tool and trim your canvas.
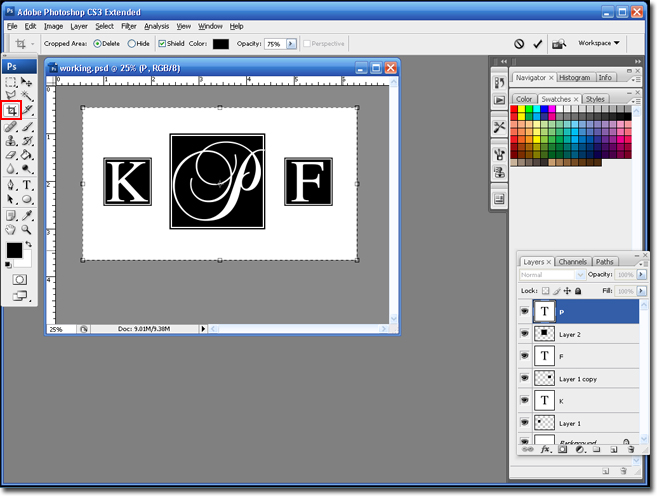
You are finished!
1 comment:
what does the "green check" do? Is this all the same on a Mac version of Photoshop too? Thanks! These tutorials are awesome!
Post a Comment