
This monogram can be done in two ways, its just a matter of switching the type of fonts that we use. I'll show you two different ways.
Here is look #1:

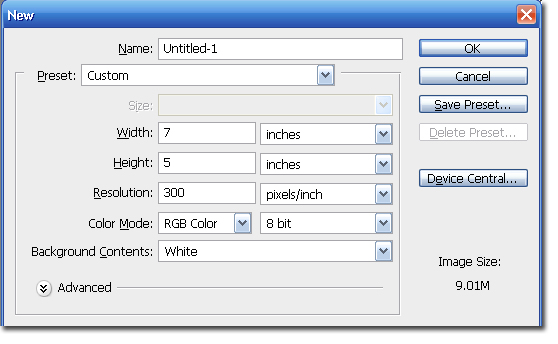
Step 1 Open a new canvas in Photoshop. Mine monogram is going to be Pink and Black.
Step 2 Select the color you want for the names in front. I am going to use black. Select the Type tool. and a good Serif or Block font, nothing that is a script. I am going to use Book Antiqua, which is built into Windows.

Step 3 Type in you and your FIs names. Use the Move tool to center your text.

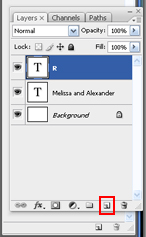
Step 4 Add a new layer by selecting the Add a New Layer icon.
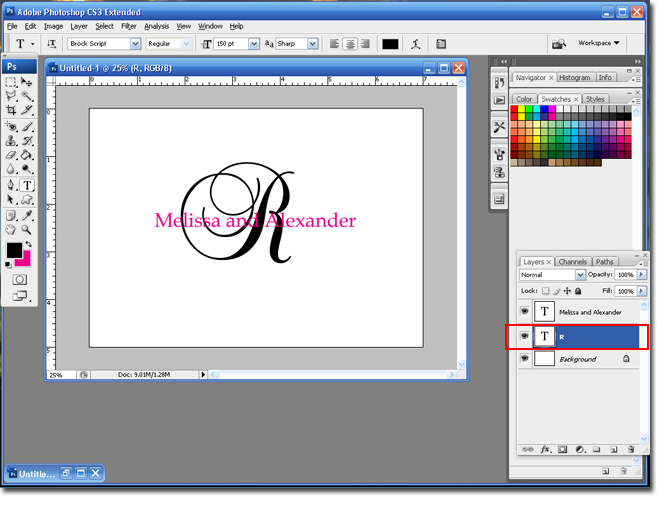
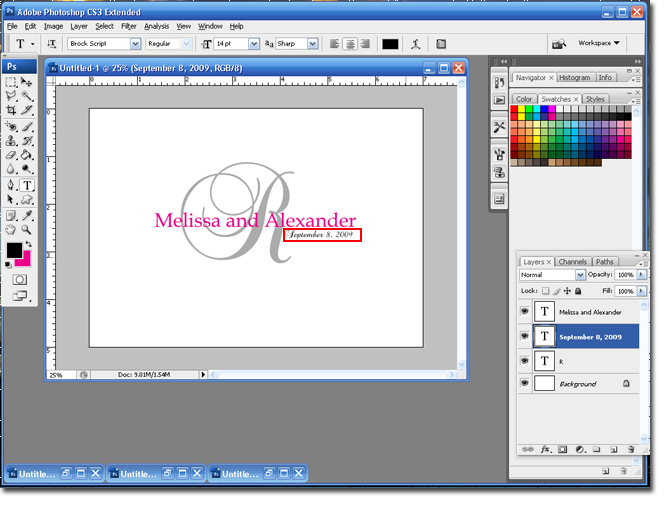
Step 5 Change; the font color, the font size (somewhere around 150) and the font to a script font (I am using the Brock Font). Type in the first initial of your France's last name.

Step 6 If you notice the last name is now in front of the names. If you grab the initial layer and drag it below the names layer it will be behind the names.
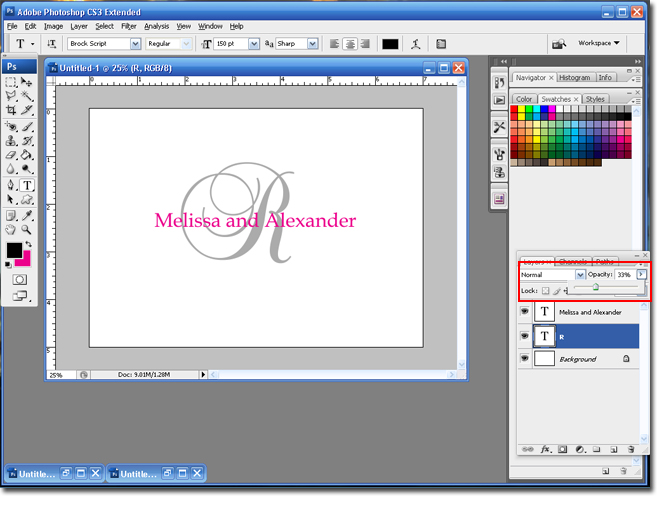
Step 7 Depending on your colors you may not be able to read the names. If your last name initial is too dark you can lower the opacity by using the slider in your Layer Pallet
Step 8 Use the same font as the initial to add the date.
Step 9 Use the Crop tool to get rid of the extra canvas.
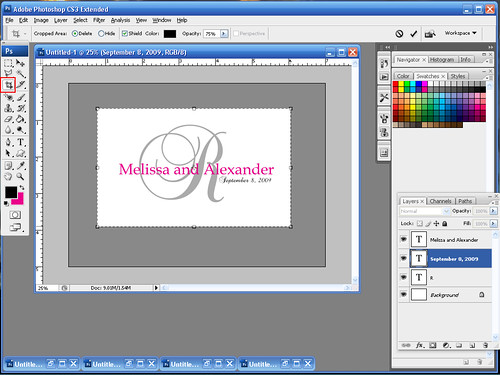
You are finished
The second way to do this tutorial is to have the names in a script font and the last name initial in a block or serif font. Use the steps I have provided but just switch the font types.

Hope this tutorial was helpful!
BriannaNichole!
4 comments:
This is great..so easy to follow..thanks a bunch!!!
Lovely and looks very elegant both ways.
thank you so much for your tips, they are fantastic and are saving me a lot of money! cheers
You are such a big help to everyone... Heaven's sent! Keep it up! :)
Post a Comment