Hi and welcome to my blog. WeddingMonograms.blogspot.com was created to help DIY brides learn how to create Monograms and other wedding designs in photoshop. I hope that you find this blog helpful. Please feel free to email me with any questions or suggestions for tutorials at WeddingMonograms@gmail.com
Congratulations and Happy Planning,
BriannaNichole!


Showing posts with label photoshop tutorial. Show all posts

Thursday, May 8, 2008

How To Draw Lines

If you look at a lot of my monograms, or other designs, you will notice that I have included lines in them. I think they add a lot to a monogram. The are especially good if you want to have a lot of elem nets to a monogram, they help to separate the monogram and make it look 'cleaner'. In this tutorial I am going to show you how you can create one of my favorite monograms that include lines.


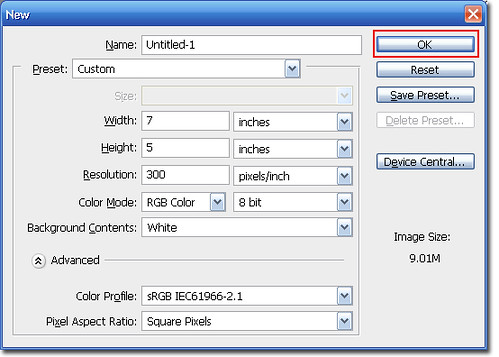
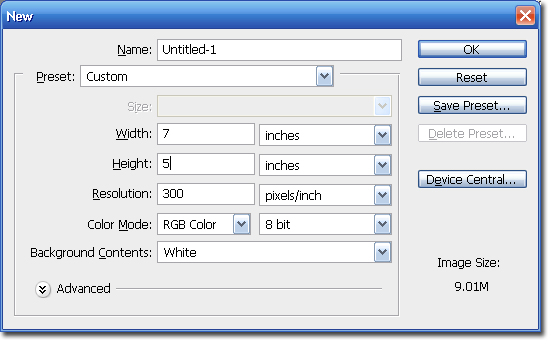
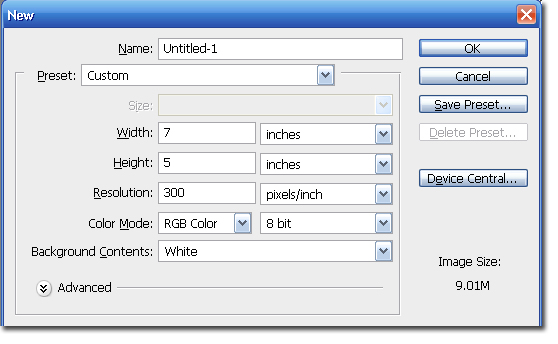
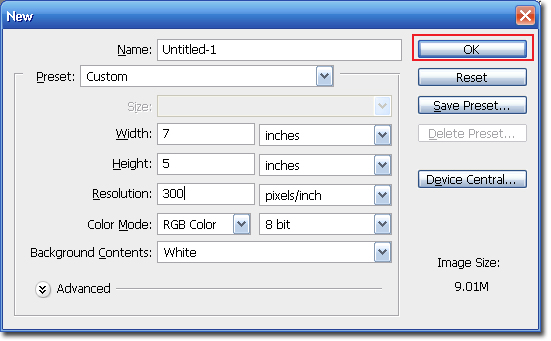
Step 1 Open Photoshop and create a new canvas: File > New or Ctrl + N.


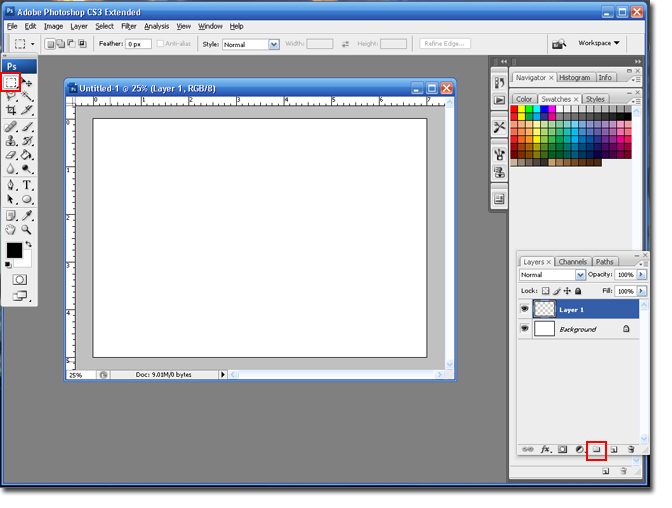
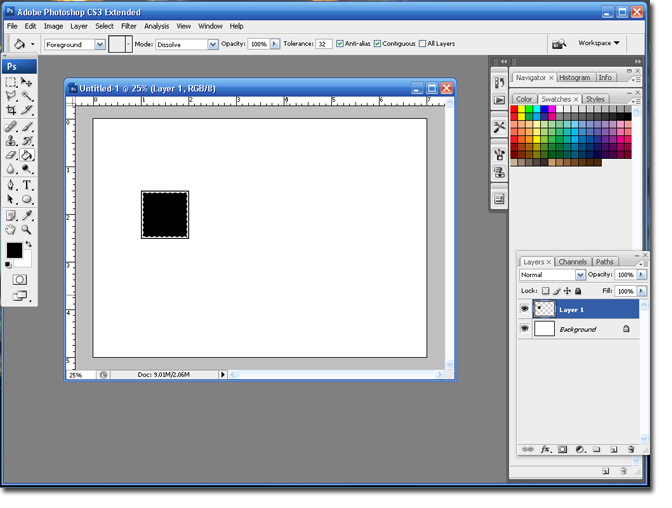
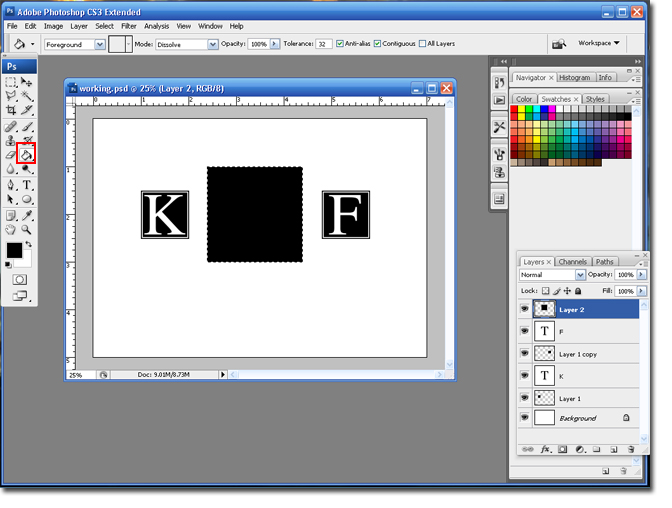
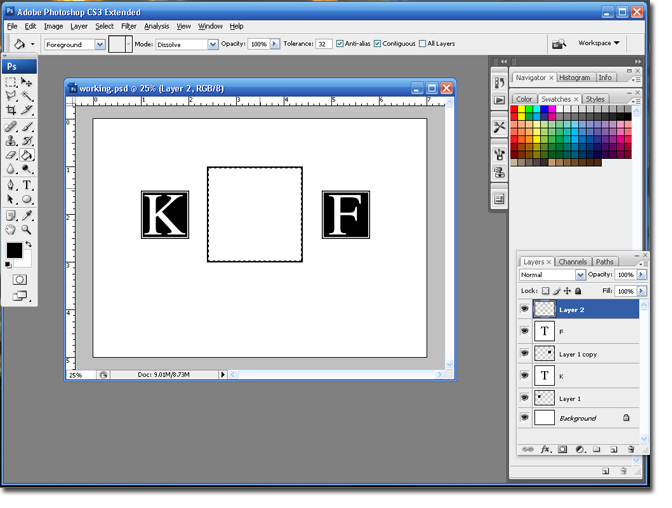
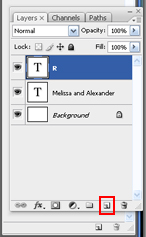
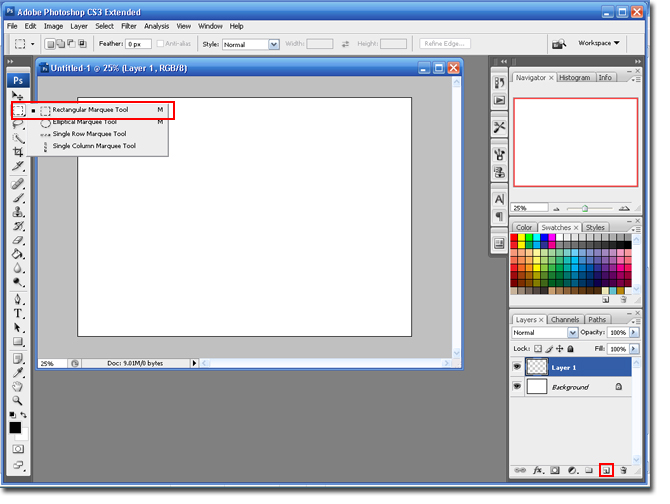
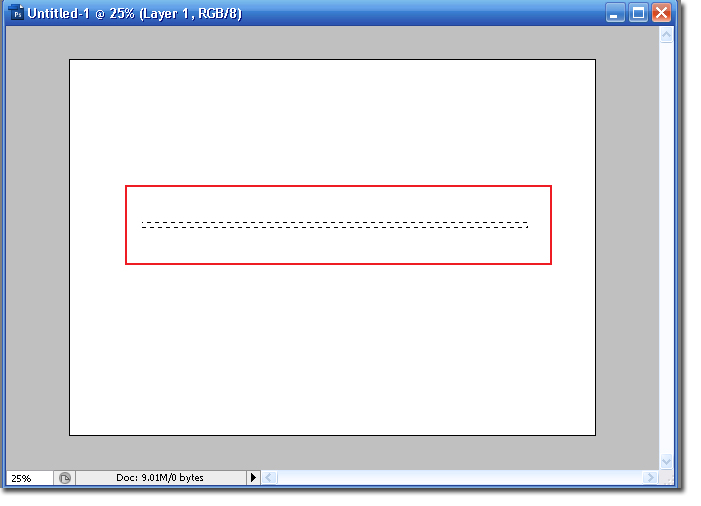
Step 2 Create a new Layer by clicking on the Add a New Layer icon and select the Rectangle Marquee tool.


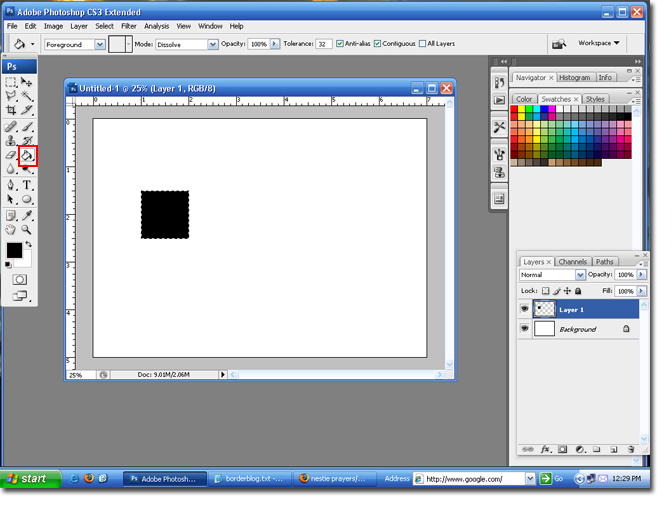
Step 3 You are going to use the Marquee tool to draw your line. Just Left-Click on the canvas and drag the line to the side until you are happy with the length of your line. Don't worry if it is too thick or long we can fix that later.


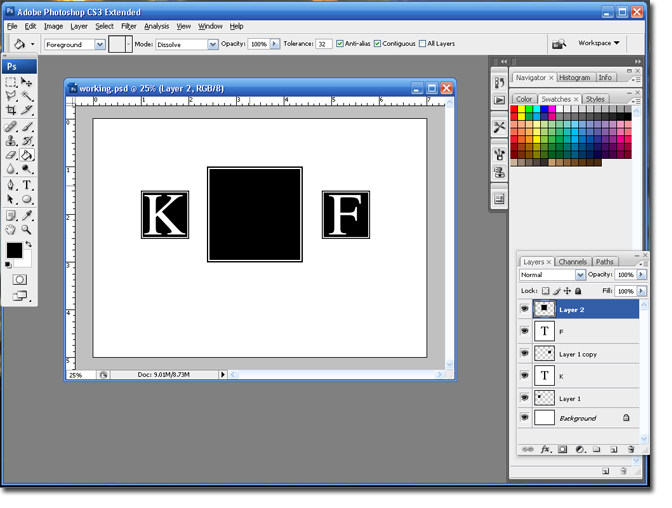
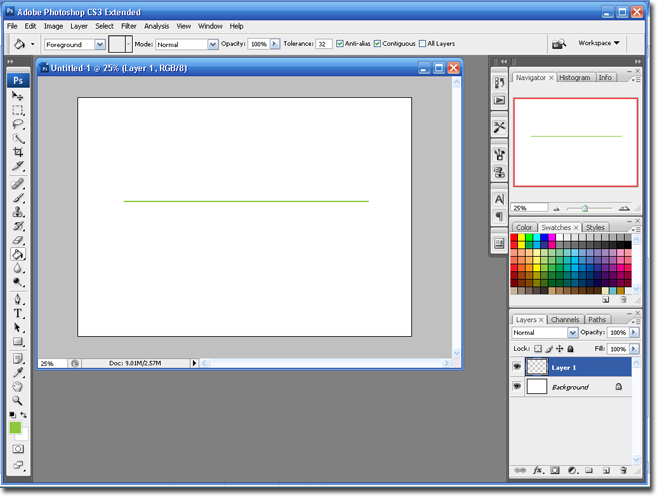
Step 4 Select the Foreground Color Tool and change it to the color you desire. Select the Paintbucket Tool and click once on the line to add the color.


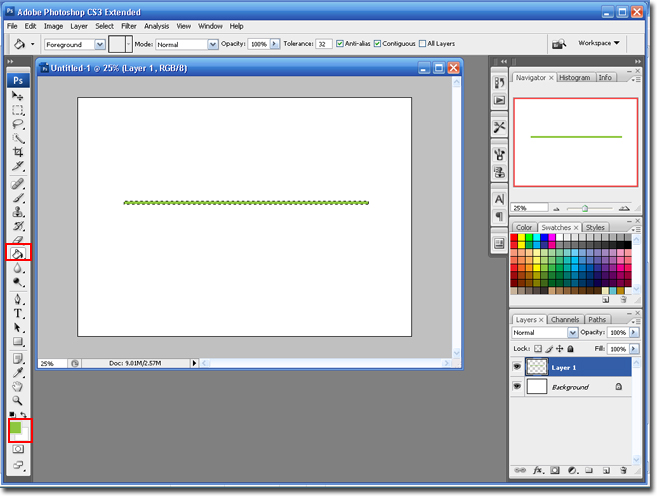
Step 5 If your line is too thick; use the down arrow key on your keyboard to move the section (dancing ants) down. When the line is as thick as you want it hit the Delete button to remove the excess. When you are finished hit Ctrl + D to remove the selection (dancing ants).


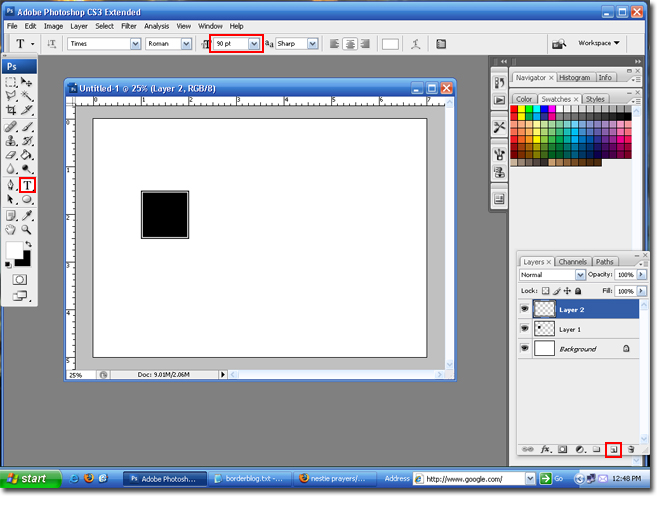
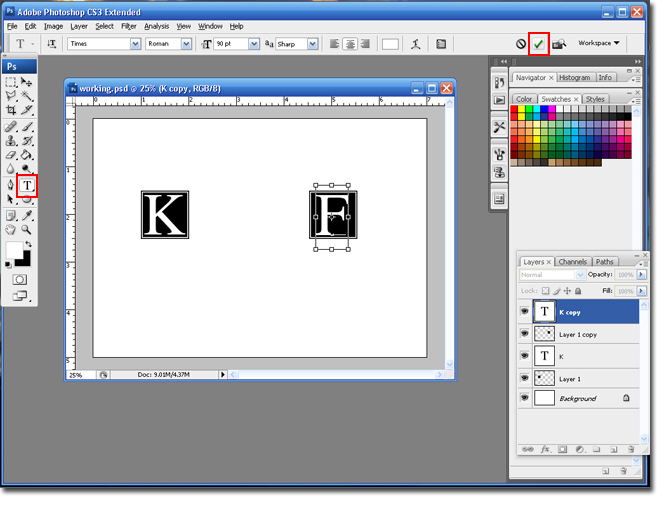
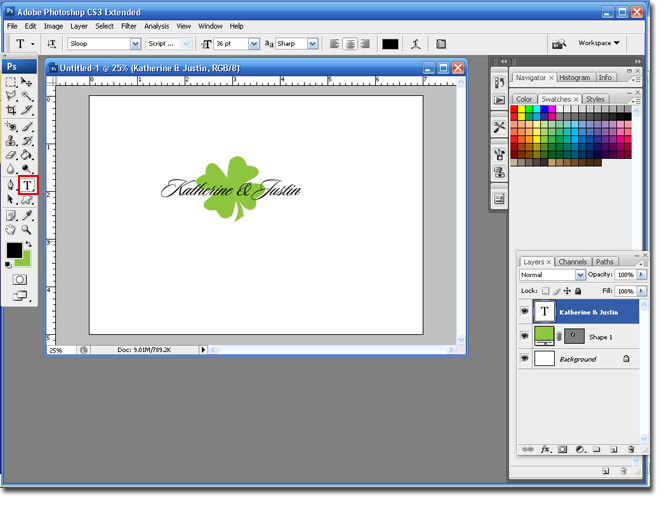
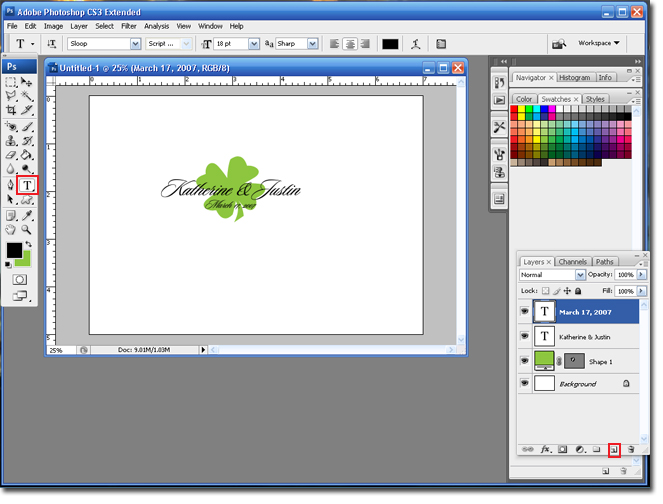
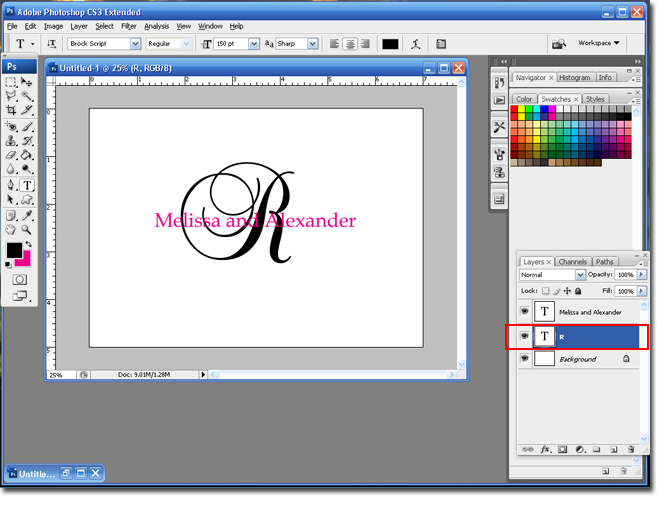
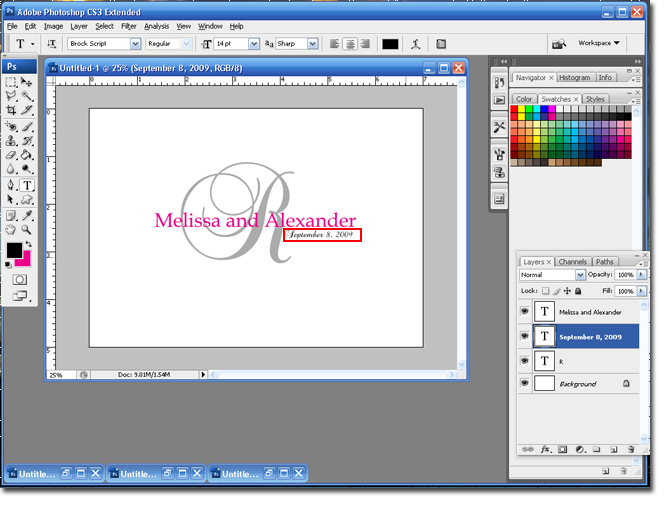
Step 6 Create a new layer, select the Type Tool and type the: Bride and Grooms Name, Wedding Date and Location. I am going to use Times New Roman, All Caps, 16pt and I am using 4 spaces between each word. You may need to play around with this a little until you are happy with the result.


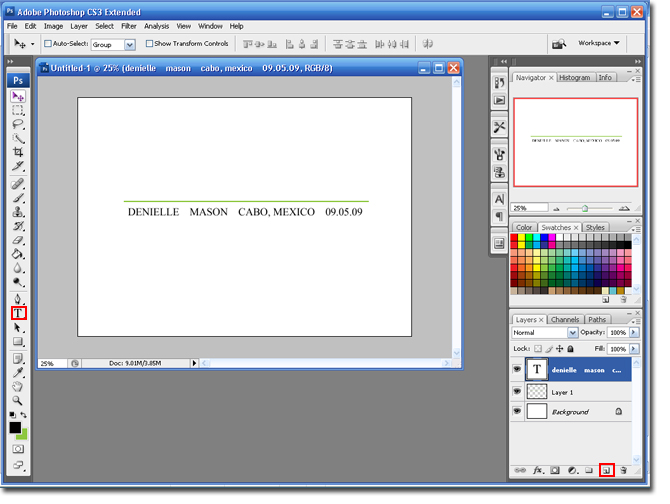
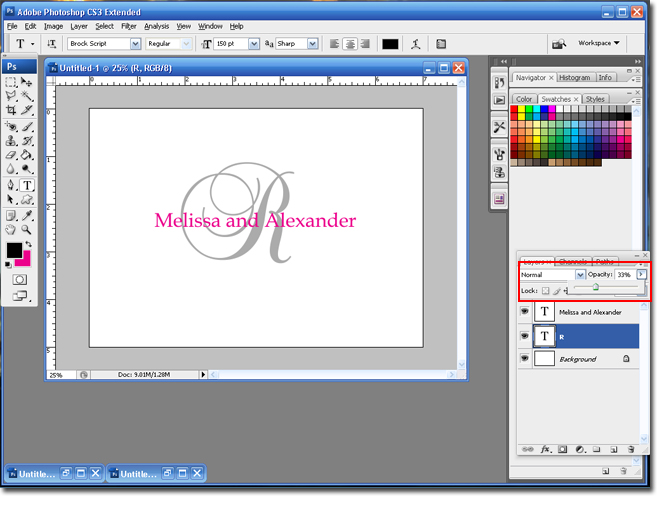
Step 7 Duplicate the layer that has the line: Ctrl + J. Select the Move Tool and move the Line layer copy under the text you created.


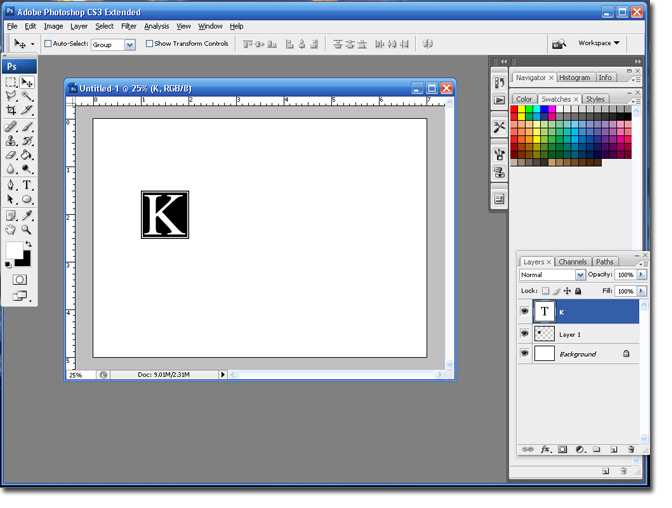
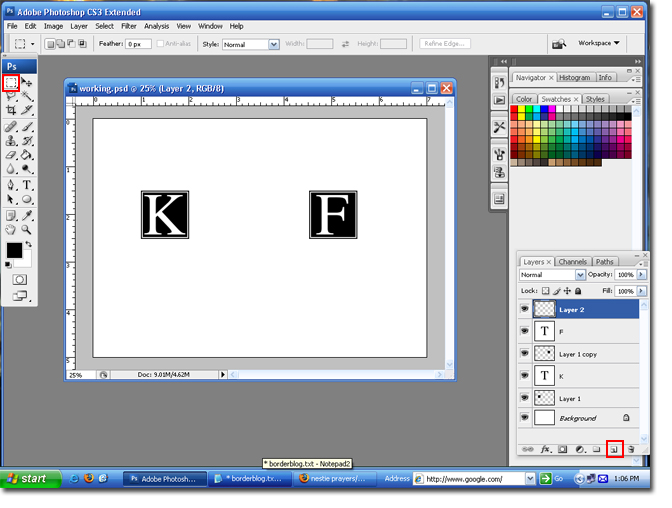
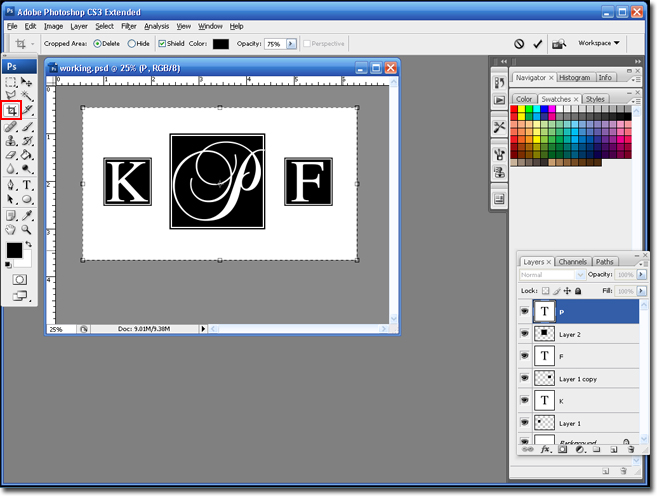
Step 8 Create a new layer, select the Type Tool and type the last name of the bride and groom. Make sure to select a script font that is a bigger size. This text will sit on top of the line.


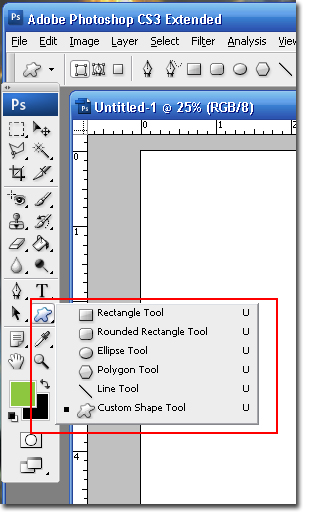
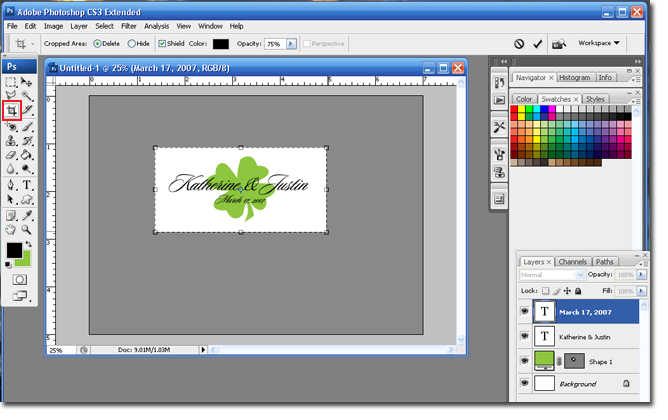
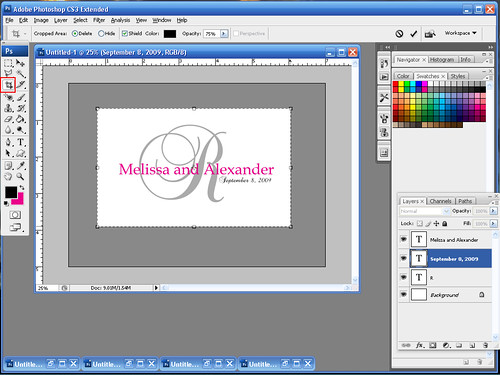
Step 9 Use the Crop Tool to remove the excess canvas.


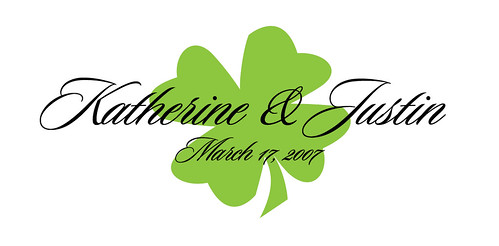
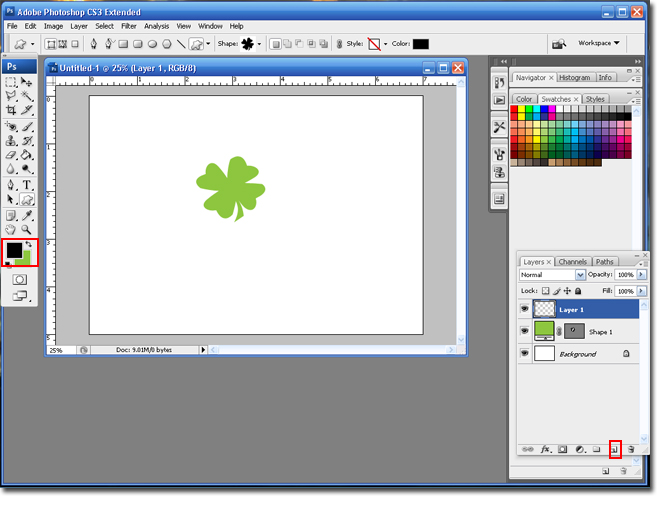
You are finished. Try being creative and adding some elements to the monogram. I added some dots and a Palm Tree dingbat to mine.

Tuesday, March 25, 2008

Triple Box Monogram Tutorial

I saw this monogram on an invitation and I fell in love with it. There is really so much that you can do with it. I could see it on an invitation, program, menu or even on an aisle runner.

There are a lot of steps to this tutorial, but don't get discouraged. It may seem like a lot of steps but they are pretty easy and very similar.

Good Luck!

So here is the design that we are going for:


Step 1 Open Photoshop and create a new Canvas: Ctrl + N or File > New. The canvas should be the following setting:


Step 2 Create a new layer and select the Marquee tool.


Step 3 Draw a square 1 inch x 1 inch. Draw the square by left-clicking on the mouse and dragging it to the right.


Note: You can turn the rulers on by hitting Ctrl + R.

Step 4 Select the Paintbucket tool and click on the canvas to fill in your color.


Step 5 Go to Select > Modify > Contract.


Step 6 Set the contact size to 6 pixels, and then click the Ok button to save the settings.


Step 7 Hit the delete button button on your keyboard and follow steps 5 and 6.


Step 8 Select the Paintbucket tool and click on the canvas to fill in your color. Select Ctrl + D to deselect (remove the Dancing Ants).


Your Smaller square is finished.

Step 9 Select the Type Tool, set the font to Times and the size to 90.


Step 10 Type in the first letter of the Bride's name. Depending on the letter you use, you may need to adjust the size to better fit in the box.


Step 11 In the layers pallet; select the layer with the box and the layer with the first initial. Hold down the Ctrl button to select both layers at the same time. They will both appear blue.


Step 12 Drag those layers to the Add New Layer icon. This will duplicate both layers.


Step 13 Select the Move Tool and hold down the Shift key. Move the 2nd box and initial to the right. Make sure to leave enough room for another box, in the center.

Step 14 Select the Type Tool and highlight the second letter and change the letter to the Groom's first name letter. Click on the Green Check when you are finished.


Your second Box is Finished!

Step 15 Add a new layer and select the Marquee Tool.


Step 16 Draw a square 2 inches x 2 inches. Select the Paintbucket Tool and fill in the square.


Step 17 Go to Select > Modify > Contract.


Step 18 Set the contact size to 8 pixels, and then click the Ok button to save the settings.


Step 19 Hit the Delete button on your keyboard.


Step 20 Follow Steps 17 & 18.

Step 21 Select the Paintbucket Tool and fill in the square.


Step 22 Select the Type tool, set the font to Brock Script, or another script font and set the size to 120.


Note: Depending on the letter you may need to adjust the size of the font.

Step 23 In the third box; type in the first initial of the groom's last name.


Step 24 Select the Crop Tool and trim your canvas.


You are finished!

Monday, March 17, 2008

St. Patrick's Day Shamrock Monogram

In honor of St Patty's day I thought it might be nice to do a Shamrock monogram. So here is the look we are going for:


Step 1 Open Photoshop and create a new canvas, Ctrl + N or File > New.


Step 2 Use the Color tool and set the foreground color to green and the background color to black.


Step 3 Select the Custom Shape Tool.


Step 4 Set the shape to the Clover shape.


Step 5 Hold down the left-click button on your mouse and drag it to draw your shape. Don't worry if it is not centered because we can center it with the move tool later. The clover will appear in a new layer automatically.


Step 6 Create a new layer and change the foreground color to black.

Step 7 Select the Type Tool and select a script font. I am going to use the Sloop Script font. Type in your names.


Step 8 Create a new layer, make the text size smaller and type in your wedding date.


Step 9 Select the Move Tool and move around the layers until you are happy with the results.


Step 10 Select the Crop Tool and trip the canvas as needed.


You are finished!! If you really want to get fun a creative try downloading some Shamrock Photoshop brushes.

Thursday, March 13, 2008

Letter Behind Monogram Tutorial

I call this monogram the 'Letter Behind' because I really had no idea what else to call it. This monogram consists of the couples names with their last name (or soon to be last name) first initial behind the names. Thus the name 'Letter Behind' monogram.

This monogram can be done in two ways, its just a matter of switching the type of fonts that we use. I'll show you two different ways.

Here is look #1:


Step 1 Open a new canvas in Photoshop. Mine monogram is going to be Pink and Black.


Step 2 Select the color you want for the names in front. I am going to use black. Select the Type tool. and a good Serif or Block font, nothing that is a script. I am going to use Book Antiqua, which is built into Windows.


Step 3 Type in you and your FIs names. Use the Move tool to center your text.


Step 4 Add a new layer by selecting the Add a New Layer icon.


Step 5 Change; the font color, the font size (somewhere around 150) and the font to a script font (I am using the Brock Font). Type in the first initial of your France's last name.


Step 6 If you notice the last name is now in front of the names. If you grab the initial layer and drag it below the names layer it will be behind the names.


Step 7 Depending on your colors you may not be able to read the names. If your last name initial is too dark you can lower the opacity by using the slider in your Layer Pallet


Step 8 Use the same font as the initial to add the date.


Step 9 Use the Crop tool to get rid of the extra canvas.


You are finished

The second way to do this tutorial is to have the names in a script font and the last name initial in a block or serif font. Use the steps I have provided but just switch the font types.


Hope this tutorial was helpful!
BriannaNichole!