
Here is the look that we are going for:

Step 1 Open Photoshop and create a new Canvas (Ctrl + N or File > New). Use my settings.

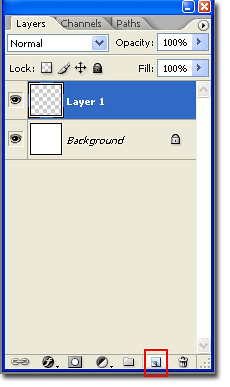
Step 2 Click on the Add New Layer icon, to add a new layer.
Step 3 Select the Ellipse Tool and select Paths (the square at the top with a pen in it).
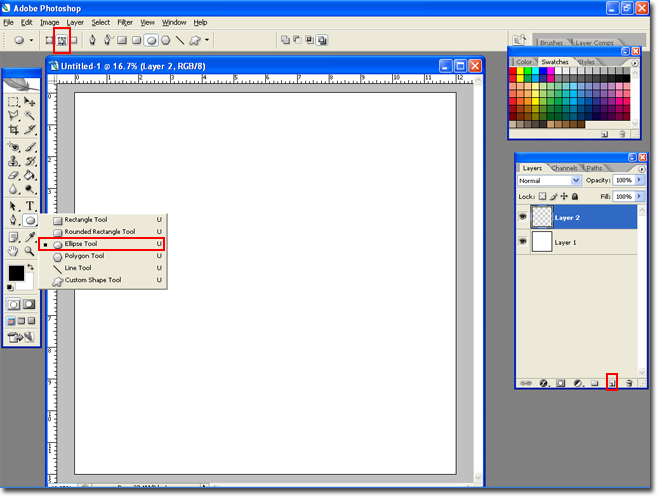
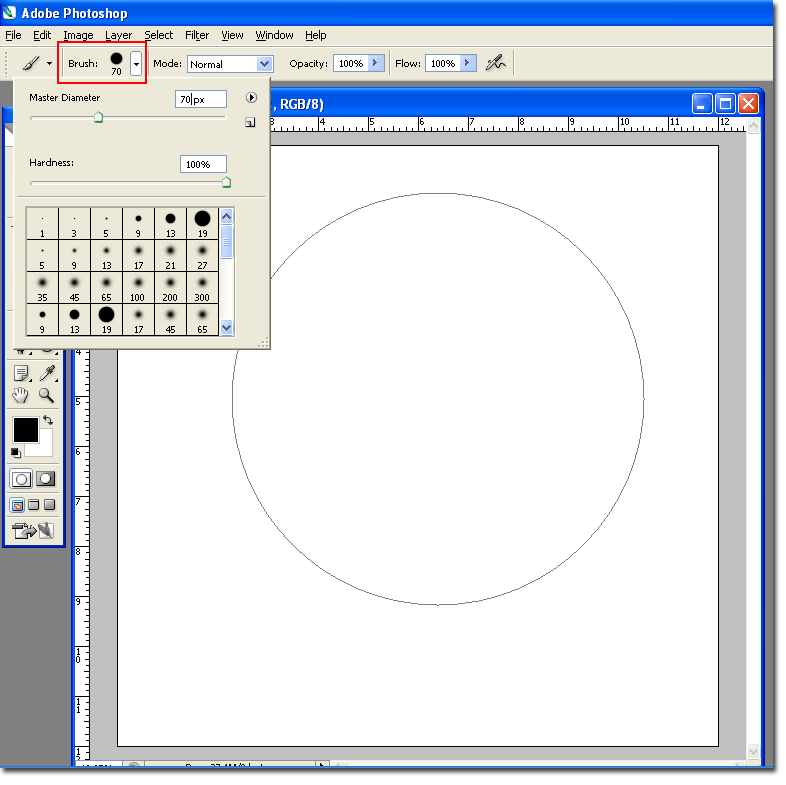
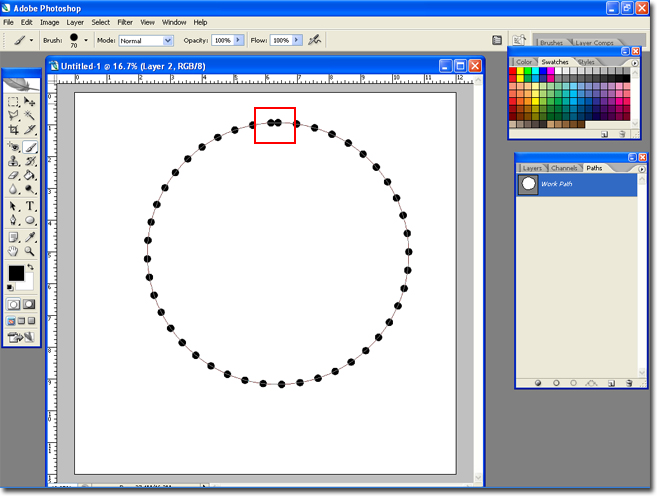
Step 4 Hold down the Shift key and draw a circle. Holding the shift key will constran the proportions. Select the Painbrush tool and set it to hard edged brush about 70 pixels.
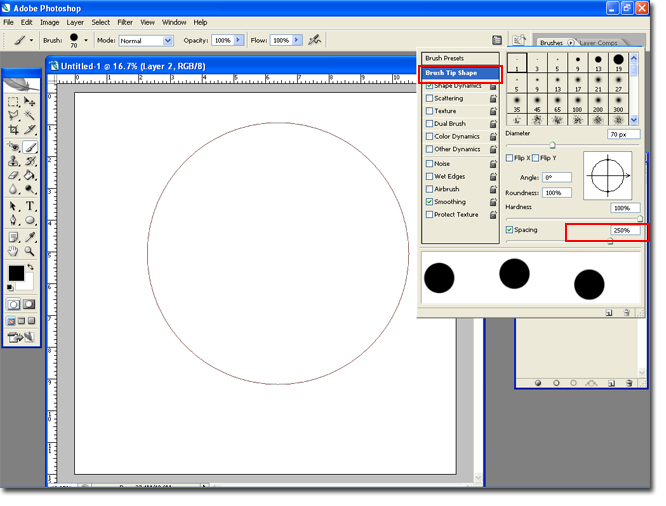
Step 5 Hit F5 or go to Window > Brushes to open the bush settings.

Step 6 Highlight Brush Tip Shape. Change the Angle to 0% and Set the Spacing to around 200%.
Step 7 In the Layer Pallet window select the Paths tab. Click on the Open Circle icon at the bottom. Your dots should appear.
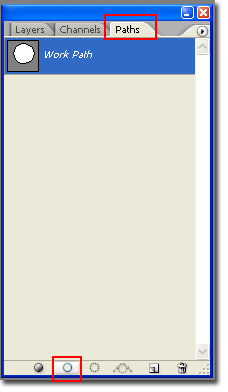
Note: The dots in your circle may not be spaced correctly. If so; hit Ctrl + Z. This will undo the last action. Go back to the brush settings (f5) and change the spacing. Keep doing this until your dot spacing is perfect.
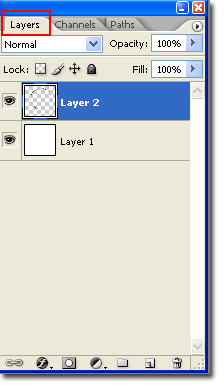
Step 8 Select the WorkPath layer and drag it to the trash can. This will get rid of the line between your dots. Select the Layers tab.
Step 9 Select the Ellipse tool, and change the type to Shape Layers, create a new layer and draw a circle smaller than the one you already created. Remember to hold down the Shift button.
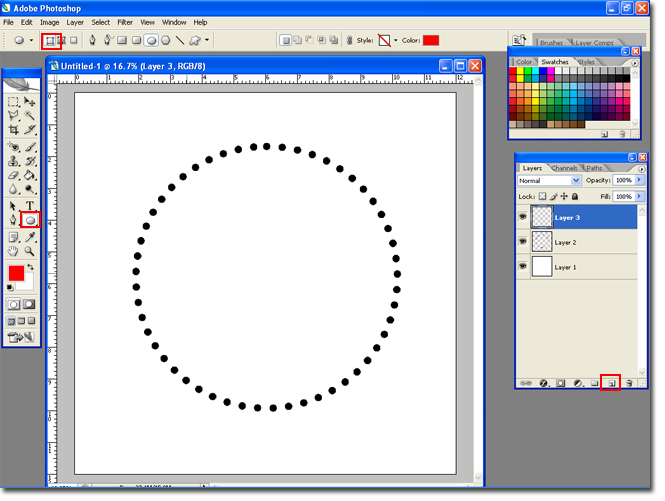
I made mine red, feel free to use any color you like.

The rest of the steps are up to you. Use your imagination and make a totally unique monogram, or copy the one I created.
Step 10 Follow the pervious steps to create another circlee of dots in another color. Use the Move tool to move it down a little, like in my monogram.

Just add some text and you are finished.
Hope you enjoyed the monogram tutorial,
Brianna!
4 comments:
I am so excited for this monogram! I was going to request a tutorial on this! Thank you!
I'm totally thrilled to find this tutorial-JUST what I've been looking for! I'm having a bit of difficulty though-I can't find a work path layer to trash-to get rid of my line. Can you help, please?
Tx
m
Thanks so much-this is just what I've been looking for!
I am having a bit of trouble-I can't find a work path layer to trash to make my circle line go away-can you help?
Thanks
M
i've been searching for ages this kind of tutorial....i can't tell how thankful i am ! THANK YOU!!
Post a Comment