
I am going to show you how to create a simple monogram in all caps without using the Caps Lock key.
Here is the look that I am going for:

Step 1 Open Photoshop, create a new canvas and select the Type Tool.
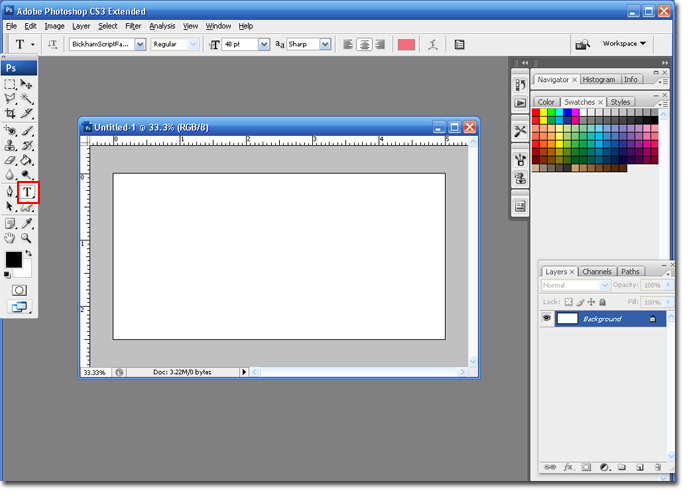
Pick a font that is not already all caps. In this case I am using Bookman Old Style which is built into most versions of Windows.
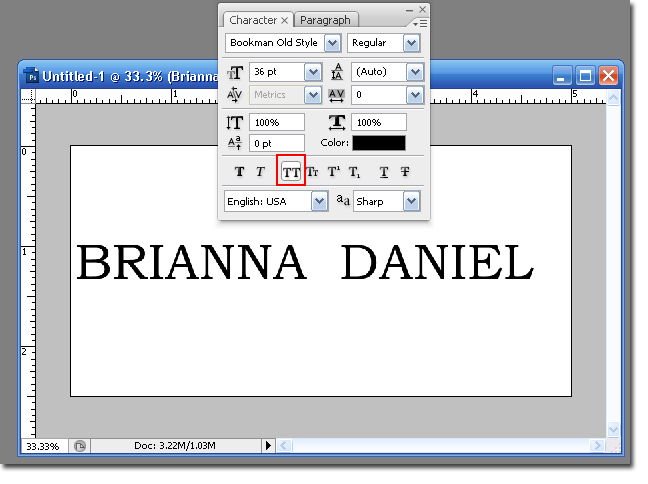
Step 2 Type in you and your FH (future hubby's) names. Make sure to put one or two spaces between the names so we can add an ampersand (&) sign later.
Step 3 Highlight the text and select the Character and Paragraph Palette.

Step 4 Select the Character tab.
For Small Caps: Select the button with the Big and Little T's.

For All Caps: Select the button with two Big T's.
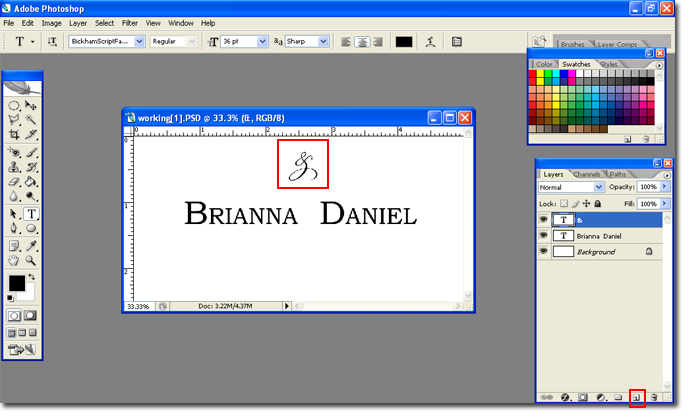
Step 5 Add a new layer, select a script font and type an ampersand sign.
Step 6 You may need to increase the size of the ampersand. Once you are happy with the look use the move tool to place it between the names.
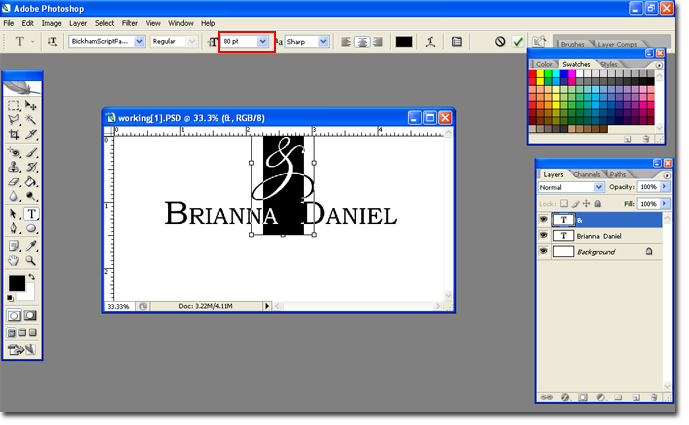
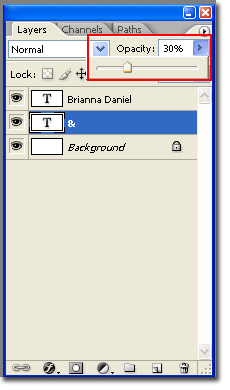
Step 7 Highlight the & Layer and move it below the names layer.
Lower the opacity of the & Layer, until you are satified with the results.
Step 8 Use the same script font and type out the wedding date. Use the Crop Tool to trim the canvus.
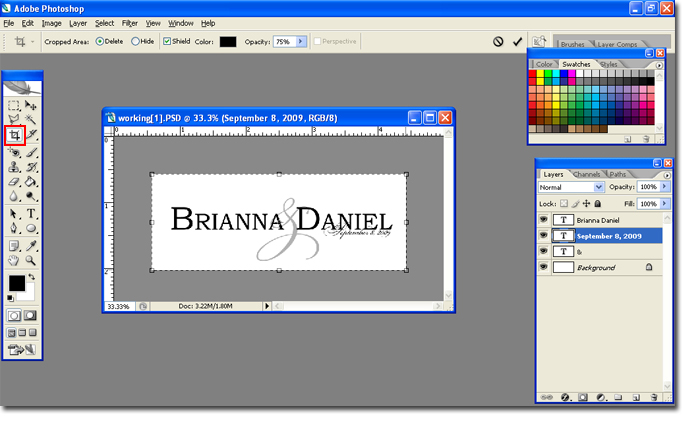
You are finished!

If you want to change the colors, simply highlight the text and select a new color.
I hope you enjoyed this tutorial,
BriannaNichole!
2 comments:
This was so great and simple to follow! Thanks!
Post a Comment