
There are a few ways that you can create the border in PhotoShop, but I will show you the one that works the best for me.
Here is the look that we are going for

You need to figure out how big you want your design to be and you need to figure out how big you want your Border to be. If you are not sure what sizes, you may just need to play around with it a bit until you get the results you like
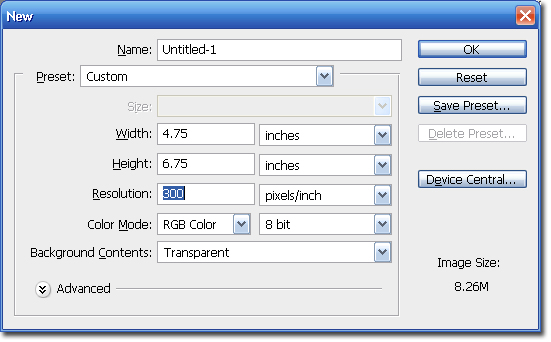
Step 1 Open Photoshop and create a new canvas, you will need to set the canvas size a bit smaller than you want the whole design to be. Basically, when you create the canvas it will be the size of the design minus the size of the border.
Example: My completed design is going to be 5x7, and I want my border to be .25 (1/4 of an inch). So when I create my design I will set the canvas size to 4.75 x 6.75 (.25 less then the final size).
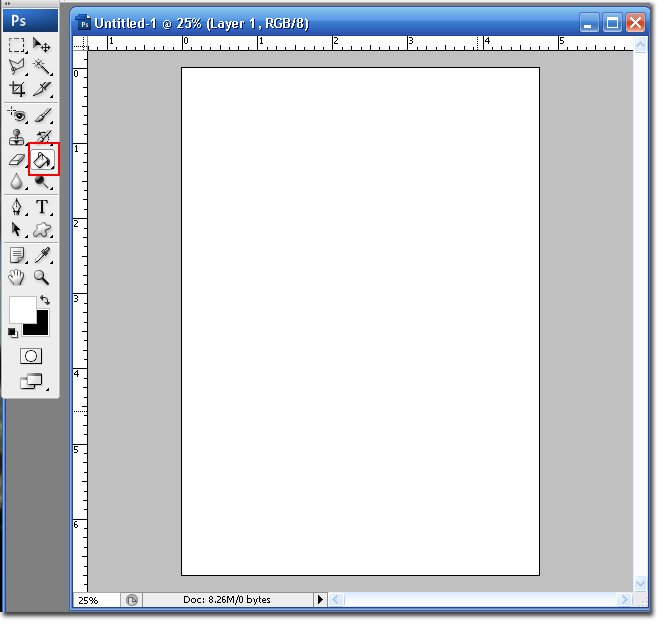
Step 2 Select the Paintbucket tool and click on the canvas to fill it with the color of your design. In this case I am using white for the background.
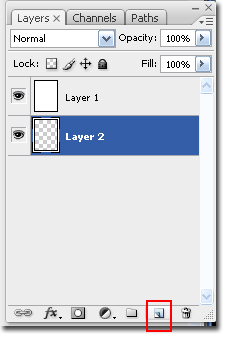
Step 3 Select the New Layer icon to add a new layer. Select the new layer and drag it below the first layer.
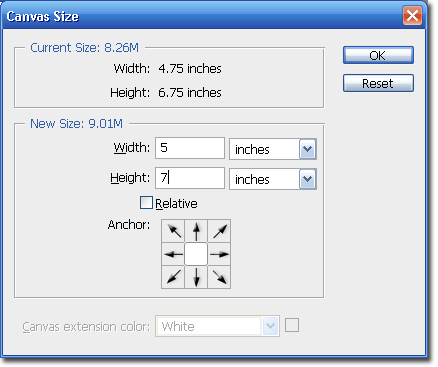
Step 4 Go to Image and Canvas Size or Alt+Ctrl+C.

Step 5 Uncheck the Relative box, and enter in the size you want the completed design to be. In this case I am changing it to 5 Width and 7 Length. Click Ok when you are finished.
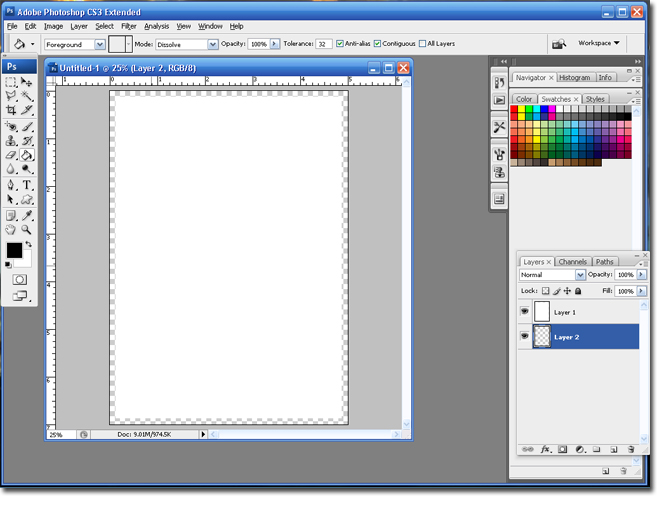
Step 6 With the bottom layer highlighted; Use the Paintbucket tool and click on the canvas once.
At this point you are finished! If you wish to include a second border color you can use the same steps as we already did, or you can add a stroke. Follow the steps below to add a stroke (another border) to your design.
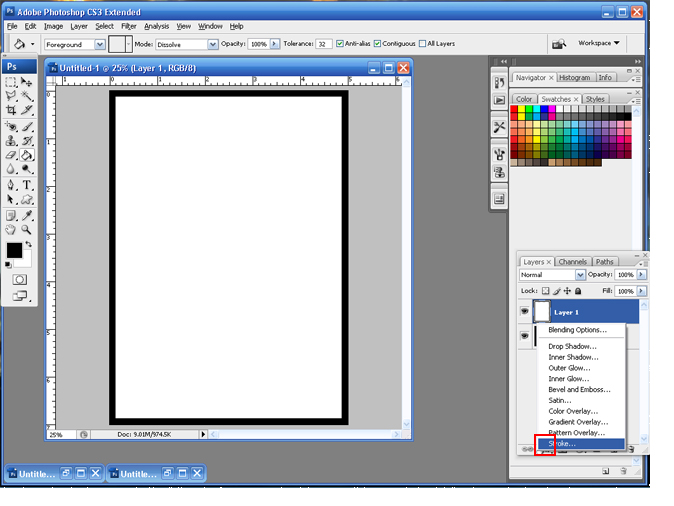
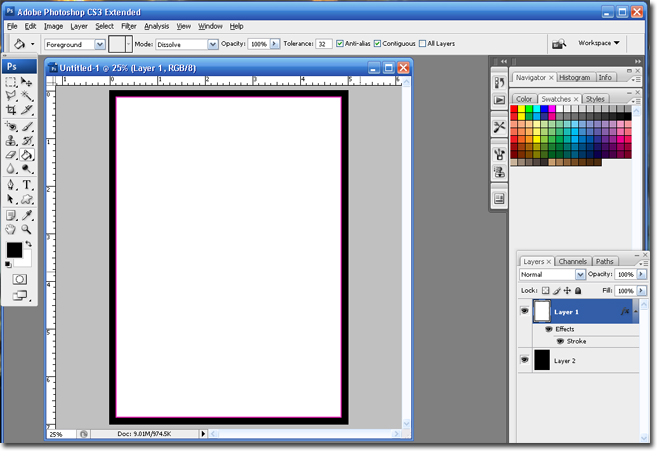
Step 7 Click on the Fx (add layer style) icon and select Stroke
Step 8 Change the Size to the thickness you desire and change the Position to Inside.
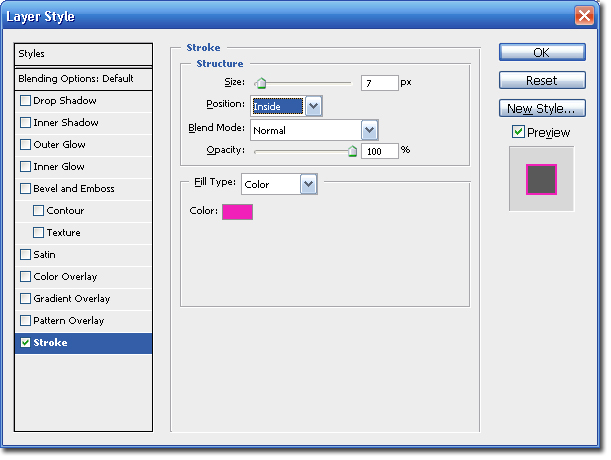
Step 9 Click on the colored square next to Color option. Select your color and click the Ok button.
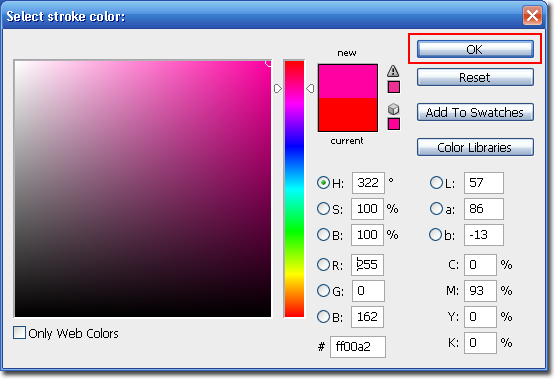
Step 10 Click the Ok button to save the settings. Your canvas will look something like this.
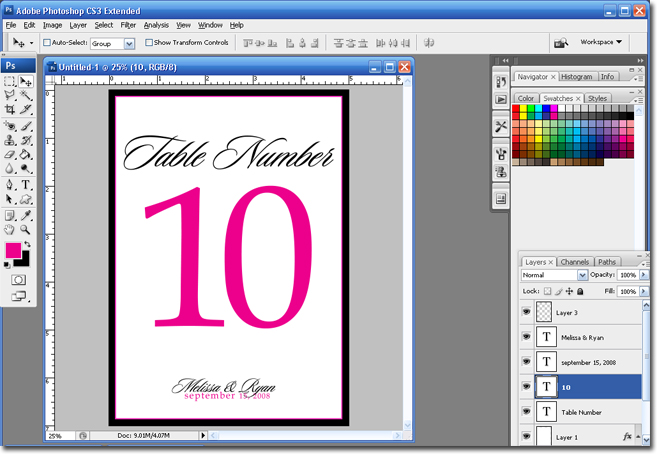
You are finished! I created a table number from my design.
I hope you found this tutorial helpful.
Hugs,
BriannaNichole!
1 comment:
You have no idea how happy I am to have found your blog! You are seriously a god send! I am telling all of my girl friends about this.
Thank you!!!!
Post a Comment