
How can I attain such a feat, you ask? Like many others I was annoyed because I could not find a Damask dingbat to save my life. Why not? The answer is simple; Damask, by definition, is a design or pattern. A dingbat is usually a single design. To create the Damask look you will need to create the design.
Your first step is to find a design that you can use to create the Damask look. There are a few way that you can do this;
1) Look for dingbats that could be made into the Damask pattern. Try searching Google for; Ornamental dingbats, flourish ding bats, design dingbats.
2) Photoshop Patterns. Photoshop patterns are just that, its a pattern that you can use with the paintbucket tool. They are very limited and I would not suggest this avenue unless you are familiar with Photoshop patterns.
3) Try looking for clipart that has the Damask style shape. The only problem with this is that you are limited to the size and color of the design you download. Most of the good ones you will have to pay for.
and the way that we are going to use....
4) Photoshop Brushes. There are not may out there, again because they do not call them Damask designs. You will have to look for Ornamental or Flower Photoshop brushes. I have found a few that will work.
The Photoshop Brushes that I liked the best were from http://seishido.biz. I found three that would really work:


You can find them all in the Ornamental set under BushyCats. Each brush is Dollar and worth it IMO. The only thing that made me mad was that I had to wait for her to email me the brushes. Granted it only took her about an hour or so, but I kind of expect to get what I pay for right away. I guess I am just impatient *sigh*.
For this tutorial we are going to use the Requiem Brush. If you need some help installing and using Photoshop Brushes, take a look at my blog on the subject.
Here is the look that we are going for:

Step 1 Open Photoshop and create a new Canvas: Ctrl + N or File > New

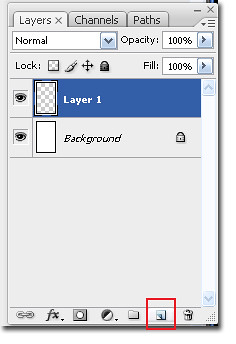
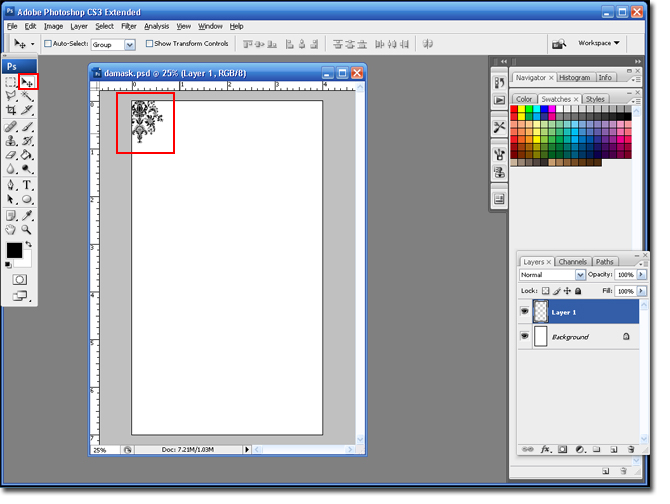
Step 2 Click on the Add New Layer icon.
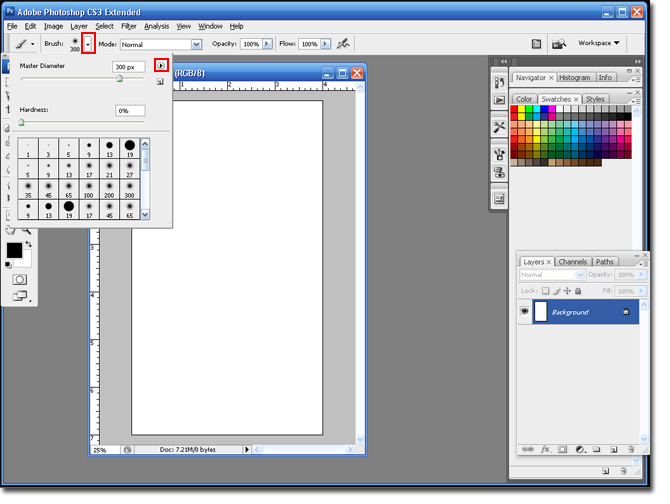
Step 3 Select the Paint Brush Tool.

Step 4 Click on the Down-Arrow in the brush tool bar, and then click on the Left-Arrow in the brush pallet.
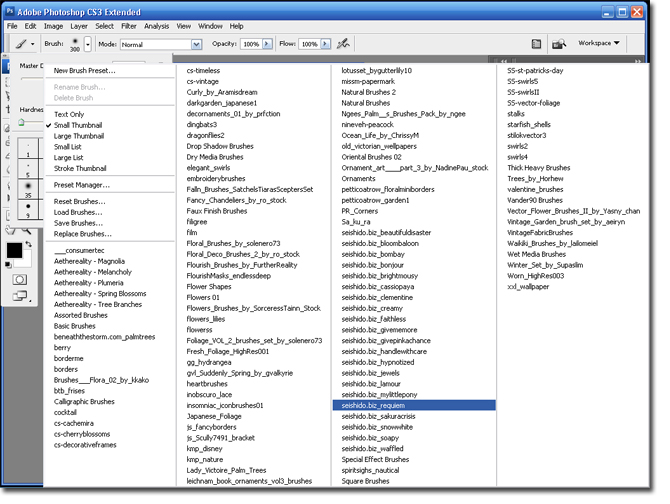
Step 5 Select your brush from the list. In this case I am going to select the Seishido.biz_requiem brush. Click Ok.
Step 6 Select the first brush on the last row, and then change the size to 300 pixels.

Step 7 Click once on the canvas, make sure layer 1 is highlighted (it will appear blue).
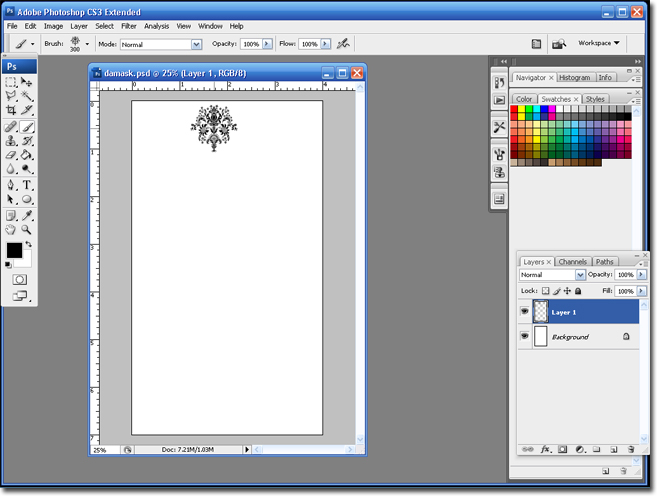
Step 8 Select the Move Tool and move layer 1 to the top right hand corner of the canvas. This will allow the Damask design to go all the way to the end of the canvas.
Step 9 Duplicate Layer 1: Ctrl + J.
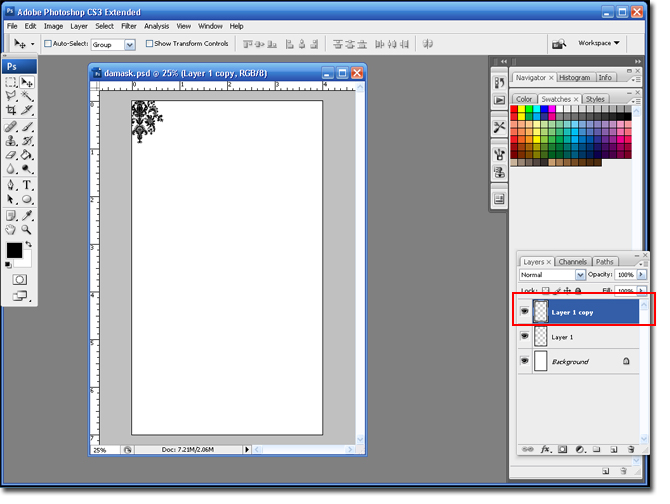
This next part may be a bit confusing. You are going to use the arrows on your keyboard to move the design around on your canvas. You will count how many times you hit each key to make sure each image is perfectly centered. The screen shots will help.
Step 10 With Layer 1 Copy highlighted; you are going to hit the Right-arrow on your keyboard 65 times.

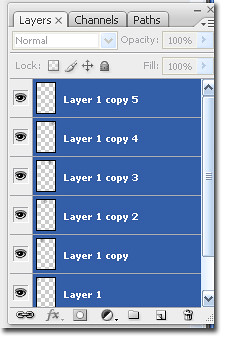
Step 11 You are going to duplicate the layer and move it to the right 4 more times. This will fill the top row. Notice the last image will be completely off the page.
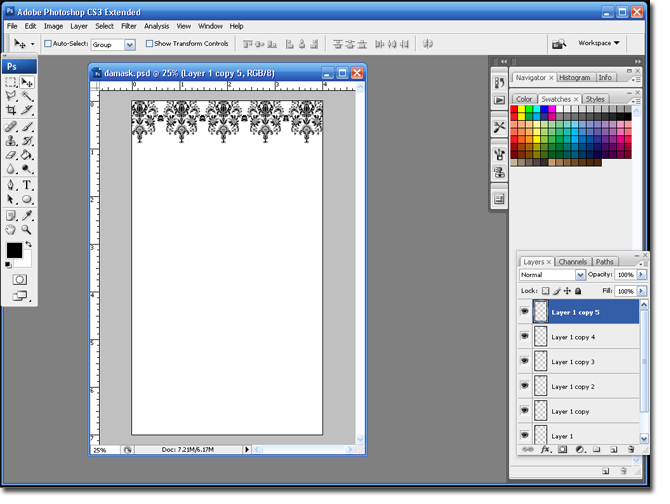
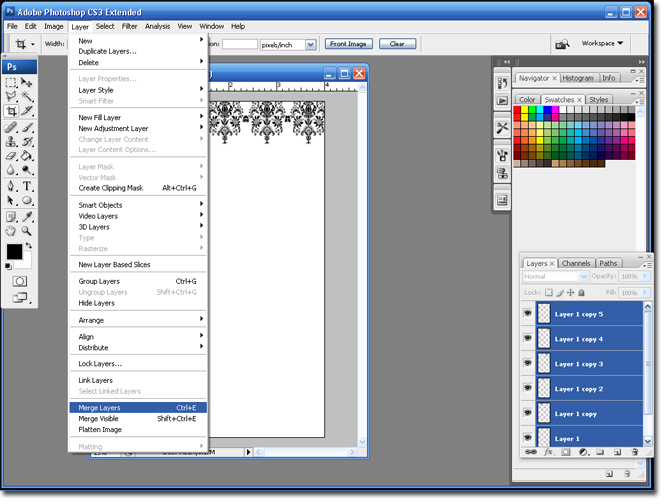
Step 12 Highlight Layer 1 and all the Layer 1 copies, make sure to hold down the Ctrl button so you can select them at the same time.
Step 13 Merge the layers: Layer > Merge Layers or Ctrl + E. This will make all the Damask images on one layer. Rename the layer to Top.
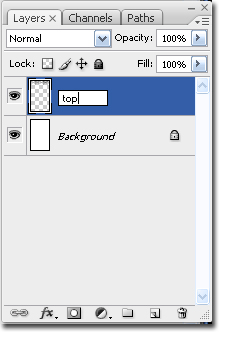
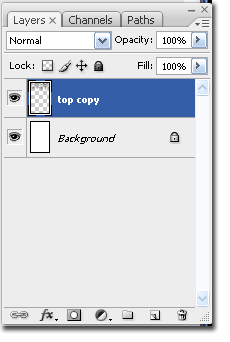
Step 14 Duplicate the 'Top' Layer; Ctrl + J. It will show up as 'Top Copy'.
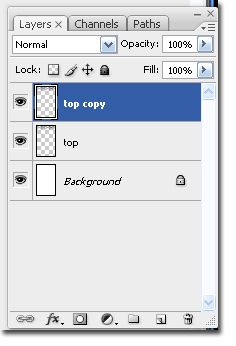
Step 15 With the 'Top Copy' layer highlighted; use the Down-arrow to move the layer down 56 times.

Step 16 Use the Left-arrow, on your keyboard, to move the layer to the left 33 times.
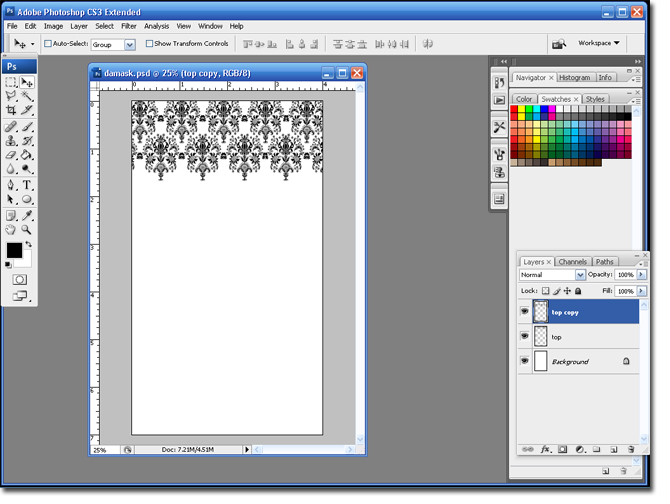
Yay, you have successfully (hopefully) completed your first two rows of your Damask design.
Step 17 Hold down the Ctrl button and highlight the Top and Top Copy layers. Merge the layers: Layer > Merge Layers or Ctrl + E.
This will rename the layer to 'Top Copy'.
Step 18 Duplicate the 'Top' Layer; Ctrl + J.The new layer will be named 'Top Copy 2'. Use the Down arrow to move the layer 112 times (56+56).
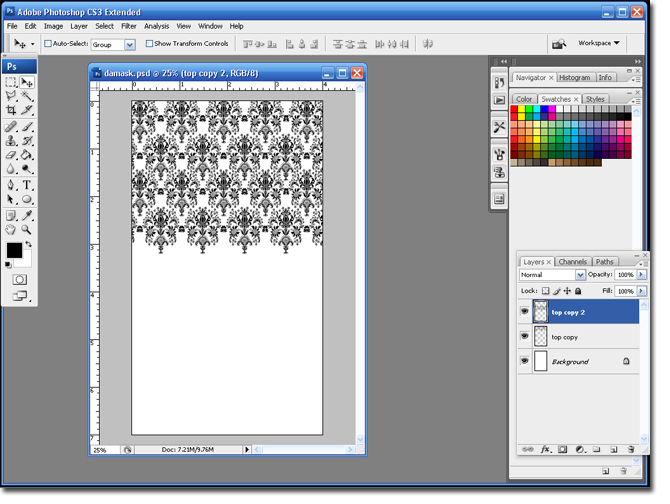
Step 19 Keep duplicating and moving down the layers until the whole canvas is filled with your design.

AT this point you have finished your Damask design. There are a lot of things that you can do with it, at this point. I am going to make a table number from mine.
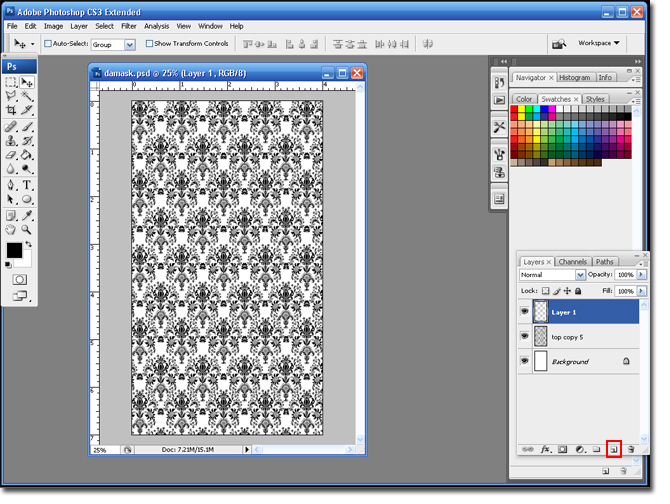
Step 20 I am going to merge all my Layers (except the background layer) so it doesn't get confusing. Hold down the Ctrl button and highlight Top Copy layers. Merge the layers: Layer > Merge Layers or Ctrl + E. Add a new Layer.
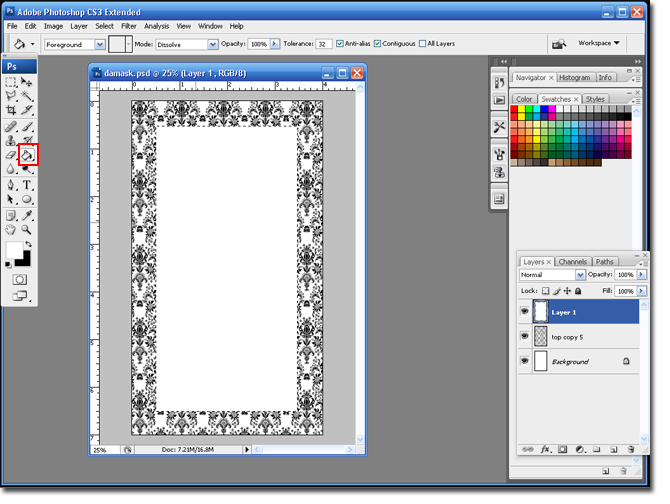
Step 21 Change the foreground color to white, and select the Marquee tool.

Step 22 Draw a square leaving 1/2 and inch on every side. Select the Paintbucket Tool and fill it in with white. De-select the square: Ctrl + D.
Step 23 Click on the Add a New Layer Style and select Stroke.
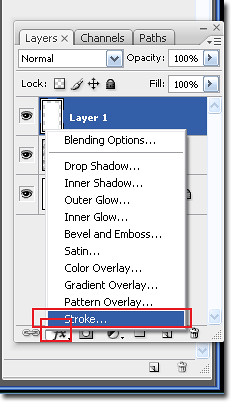
Step 24 Here are the settings I used. Click Ok to save the settings.

Step 25 Add a new layer and select the Type tool to add in your table information.

Be creative and play around with the sizing and shapes.
Hope you enjoyed the tutorial,
Brianna!
8 comments:
Can the damask brush color be changed in photoshop? like if i wanted to use it in a dark blue instead of black.
thanks
Hi Cristina,
That is a really good question. You can change the color by changing the foreground color (the little color swatch you see in your tool bar). You would want to change it before you create the design.
HTH
Brianna.
Hi Brianna,
Thanks you so much for your simple step-by-step tutorial. I had been searching for a damask pattern for weeks & couldn't find anything but I finally came across your tutorial. I hadn't had too much experience in photoshop before but your tutorial made it so easy. I now have a design that I love for my 30th invitations & best of all I did it all by myself.
I was wondering what fonts you used in the tutorial.
Cheers again.
Jess
Is there a way to change the brush color, My colors and apple green and chocolate brown would like to do either green or brown damask to give invites a little flair.
hello brianna my name is tahania ,im from mexico ,and im very excited cause i found your tutorial, could you help me to use download the figures for free (like the ornaments) cause i really can not because im living in mexico and my english it is not really good,thanks .
Thank you so much for this tutorial! I love it and it answers several questions I had about Photoshop. Love your blog girl! Have a great one...gina
Hi, I have been looking for a damask pattern for ages with no luck then I came across your tutorial, I havn't got photoshop on my computer yet but after reading your step by step instructions I plan to buy it and use it for most of my stationary. Can you recommend what type of paper or card I should use. Fantastic tutorial thank for sharing!
Audrey
OMG thank you so much for the post and the link. My mother-in-law found some low, low res jpgs of damask designs she wanted to use for my brother-in-law's rehearsal dinner. She has basic computer skills and if I said Adobe Photoshop to her, she'd burst into flames saying it was too complex. I searched and searched for higher resolution jpgs of the same design. Finally, I revisited this post and realized that the brushes you used were the same ones in the jpgs my MIL liked. So I went to the site, bought the requiem brush set and found the right combination of brushes to re-create the designs. She was extremely happy and it was a snap. Thanks again!
Post a Comment