
Today's monogram is perfect for lots of wedding stationary. This design is made with a dingbat font called Separates. Here is the look that we are going for:

Step 1: Download and install the Separate font. You can get it Here. If you need help installing the font, check out my step by step tutorial Here.
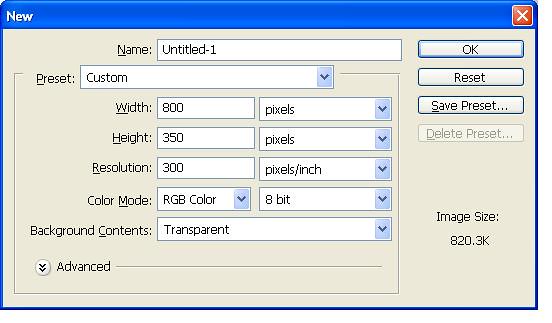
Step 2: Open Photoshop and create a new canvas. Feel free to play around with the size of your canvas. Here are the settings I used.
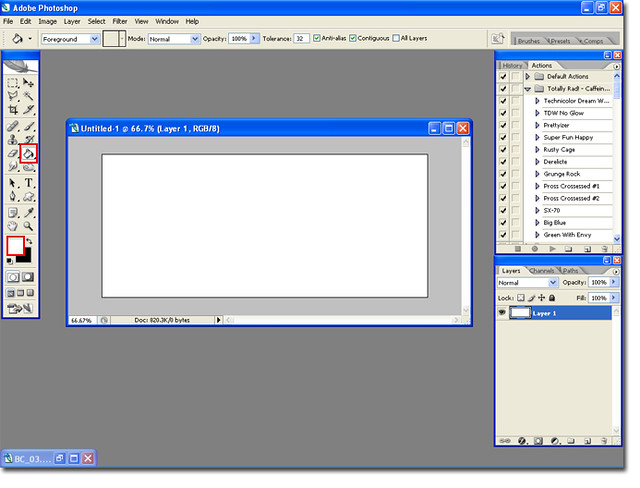
Step 3: Select the Paintbucket tool, set the foreground color to white and click once on your canvas.
Note: You can always use a different background depending on the color of your stationary.
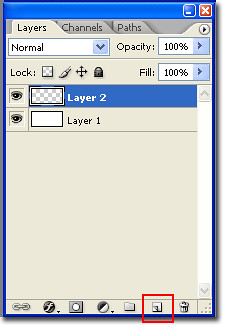
Step 4: In the layers pallet select the Add Layer button.
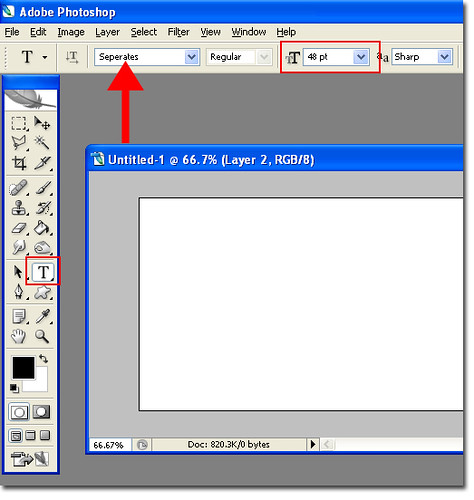
Step 5: Select the Type tool and set the font to Separates . I set the font size to 48, but you may need to change this depending on the size canvas you used.
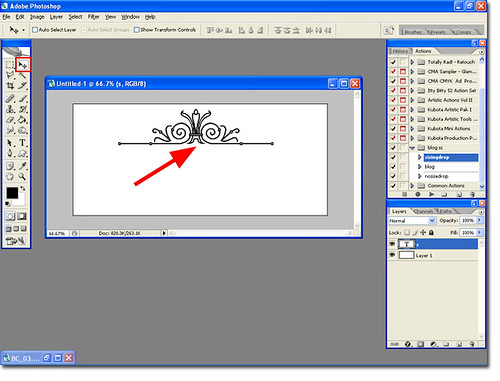
Step 6: Type an S with the Seperates. Select the Move tool and move the image to the top middle of the canvas.
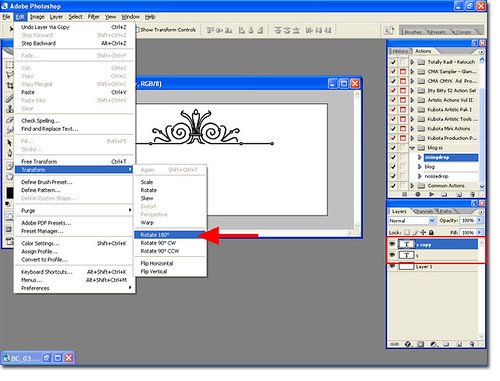
Step 7: Hit Ctrl + J to duplicate the S (design) layer. Go to Edit > Transform > Roatate 180.
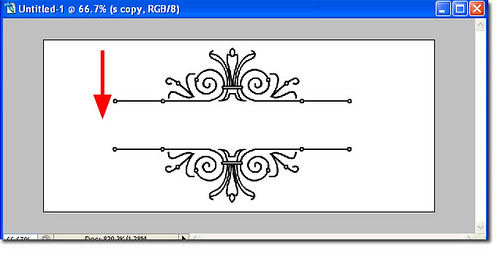
Step 9: Use the down arrow on your keyboard to move the upside down design.
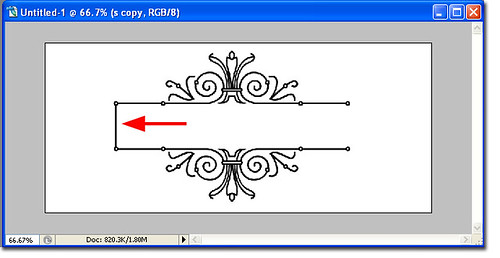
Step 10: In the layers pallet select the first S layer. Using the Rectangle Marquee tool; select the space shown in the screen shot below. This will be used to close our monogram.

Step 11: Hit Ctrl + C to select the design. In the layers pallet select the Add Layer button. With the new layer selected Hit Ctrl + V to paste the selection into the new layer.
Step 12: Go to Edit > Transform > Rotate 180 to rotate the new layer. Use the Move tool to move the line and close up the one side of the rectangle.
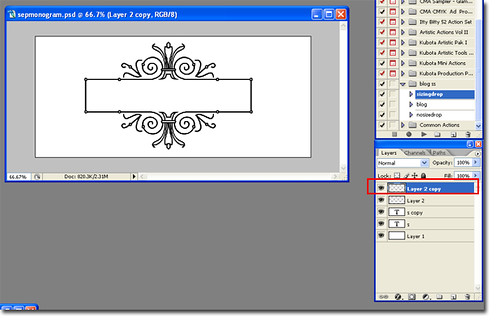
Step 13: Hit Ctrl + J to duplicate the layer. Go to Edit > Transform > Roatate 180, and then Use Move tool to move the line and close up the other side of the rectangle.Now your rectangle should be closed like in the screen shot below.
Step 14: Create a new layer and select your Text tool to add you and your finance's names and your wedding date. I used Bell for the names and Bicham Fancy Script for the date. You can be create here and really add anything that you like.

Hopefully you enjoyed this tutorial. Please let me know if you have any questions or if you you run into problems.
Have a fabulous Thanksgiving,
BriannaNichole!
No comments:
Post a Comment