
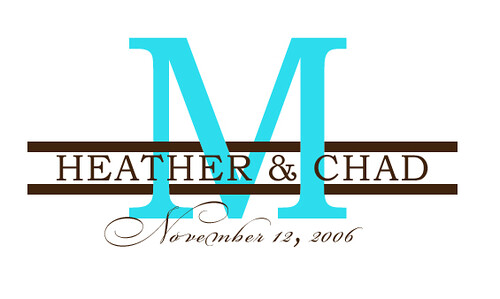
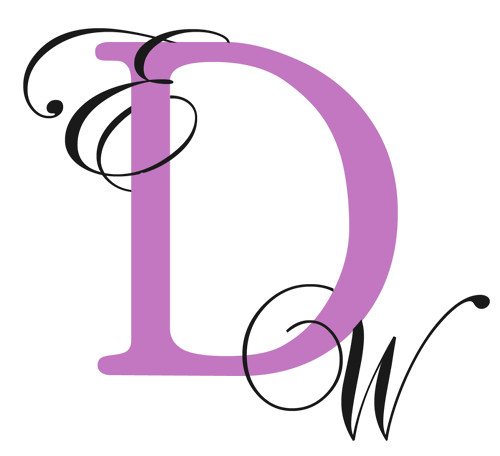
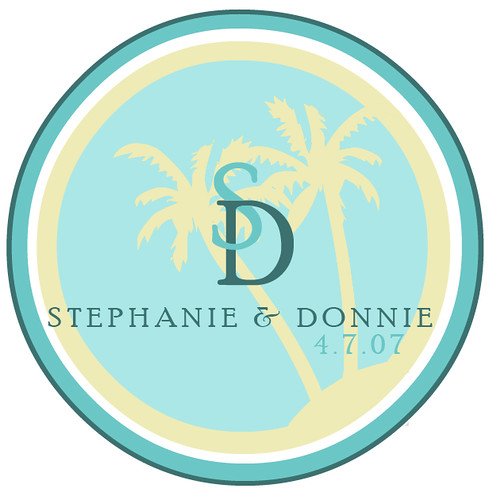
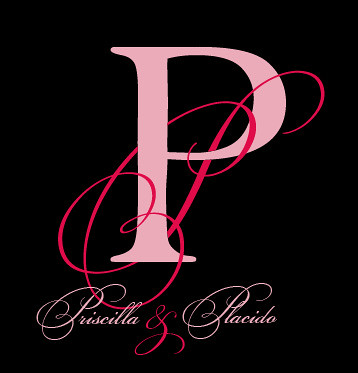
Here is my final product:
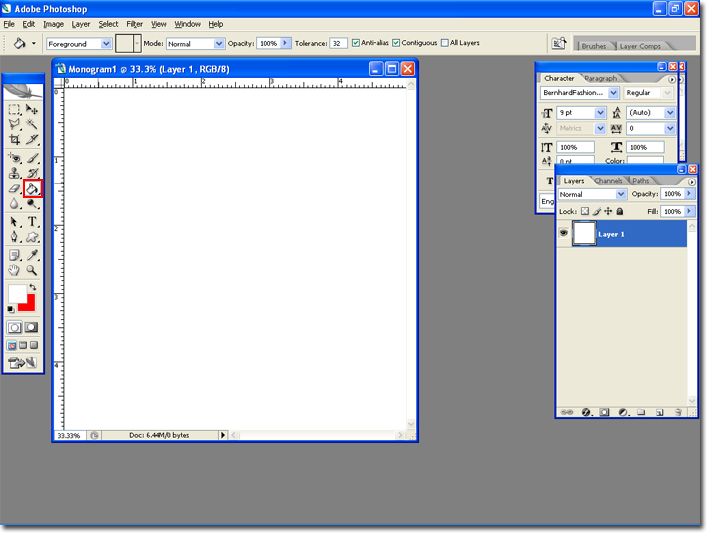
Step 1 Start by opening photoshop. Create a new canvas by hitting Ctrl + N on your keyboard, or going to File > New. I like to make the canvas big, here are my settings:

Step 2 Highlight the background layer, and then use the paint bucket tool to fill the layer with white.
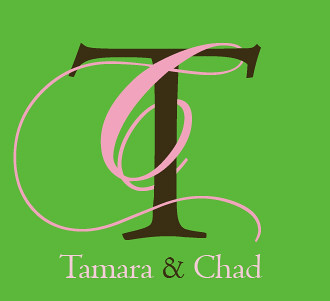
Tip: I find it best to use two to three colors for the Twine Monogram. The initials need to be different colors so you get the effect of the letters wrapping around one another.
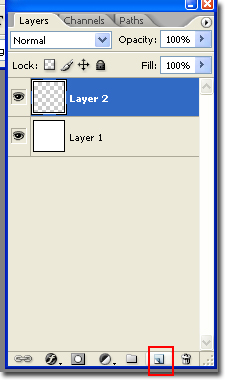
Step 3 Create a new layer using the New Layer icon.
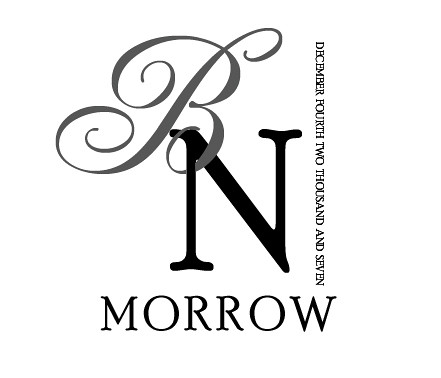
Step 4 Select two fonts; one cursive and one block. If you need some help with finding fonts visit my font bio. I am going to use Sloop-ScriptTwo and Rutaban as my fonts.
Note Not all fonts work with all initials. You may find that you love how a B looks like in Arial, but you may hate it for a D. The best way is to play around with fonts until you get ones that you like for your initials.
Step 5 Select Layer 2, the top layer, and select the type tool.

Step 6 Type in your first letter. Create a new layer, by using the New Layer Icon. Type in your second letter on the new layer. Use move tool to place the second letter on top of the first letter.

Step 7 Right click each layer with the letters and select Rastersize Type. This will make the layer an image and allow us to erase a section.
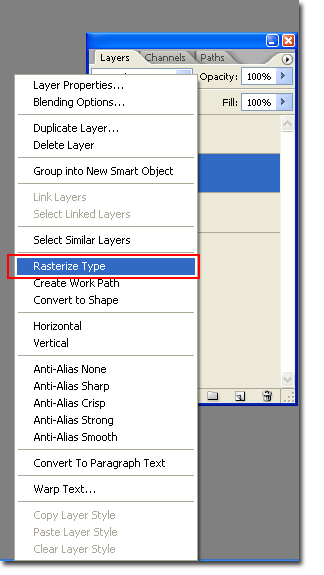
Tip: Make sure you are not right clicking on the thumbnail of the layer or you will not get the Rastersize option.
Step 8 Ctrl + Click On the thumbnail of the layer second from the top and highlight the top layer. You will see the marching ants on the bottom letter.

Tip: To make the image appear bigger Ctrl + + sign. This will make it easier to see what needs to be erased.
Step 9 Select the Eraser tool and begin erasing sections of the top layer. I like to eraser every other section to see what looks best. If you do not like what you did you can 'step back' by hitting Ctrl + Alt + Z.
When you are finished hit Ctrl + D, to deselect the bottom letter. You are finished! Try to be create and add names, your wedding date or even your wedding location.
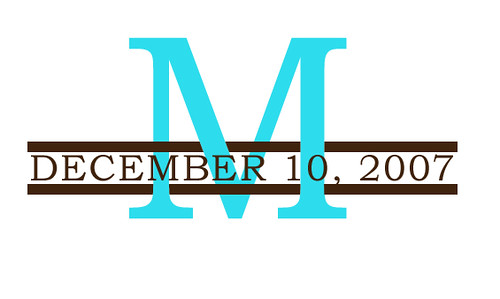
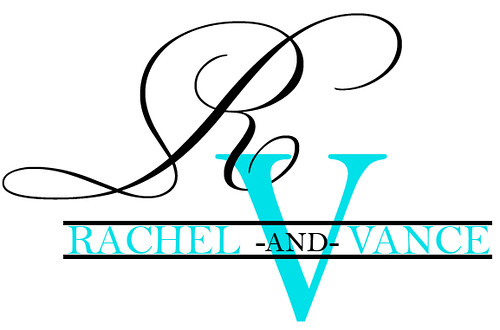
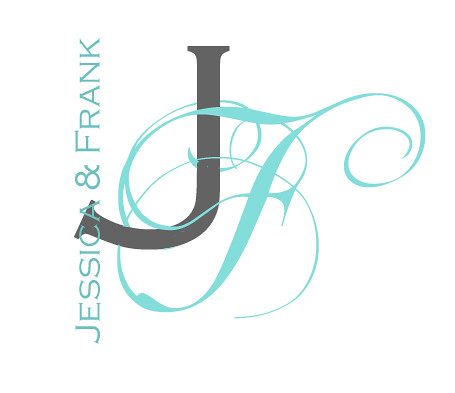
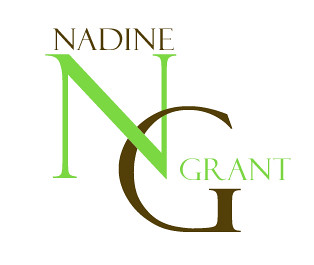
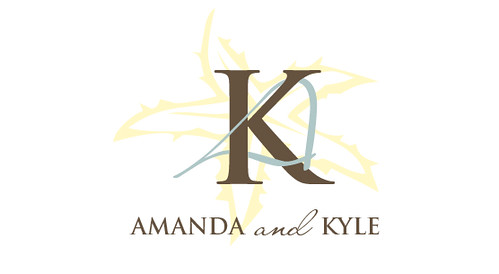
Here is my finished product, and some other examples of this type of monogram:

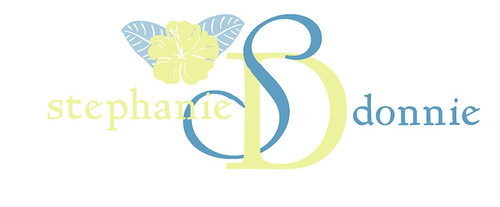


Hopefully you found this tutorial helpful. :)
BriannaNichole!
No comments:
Post a Comment